01
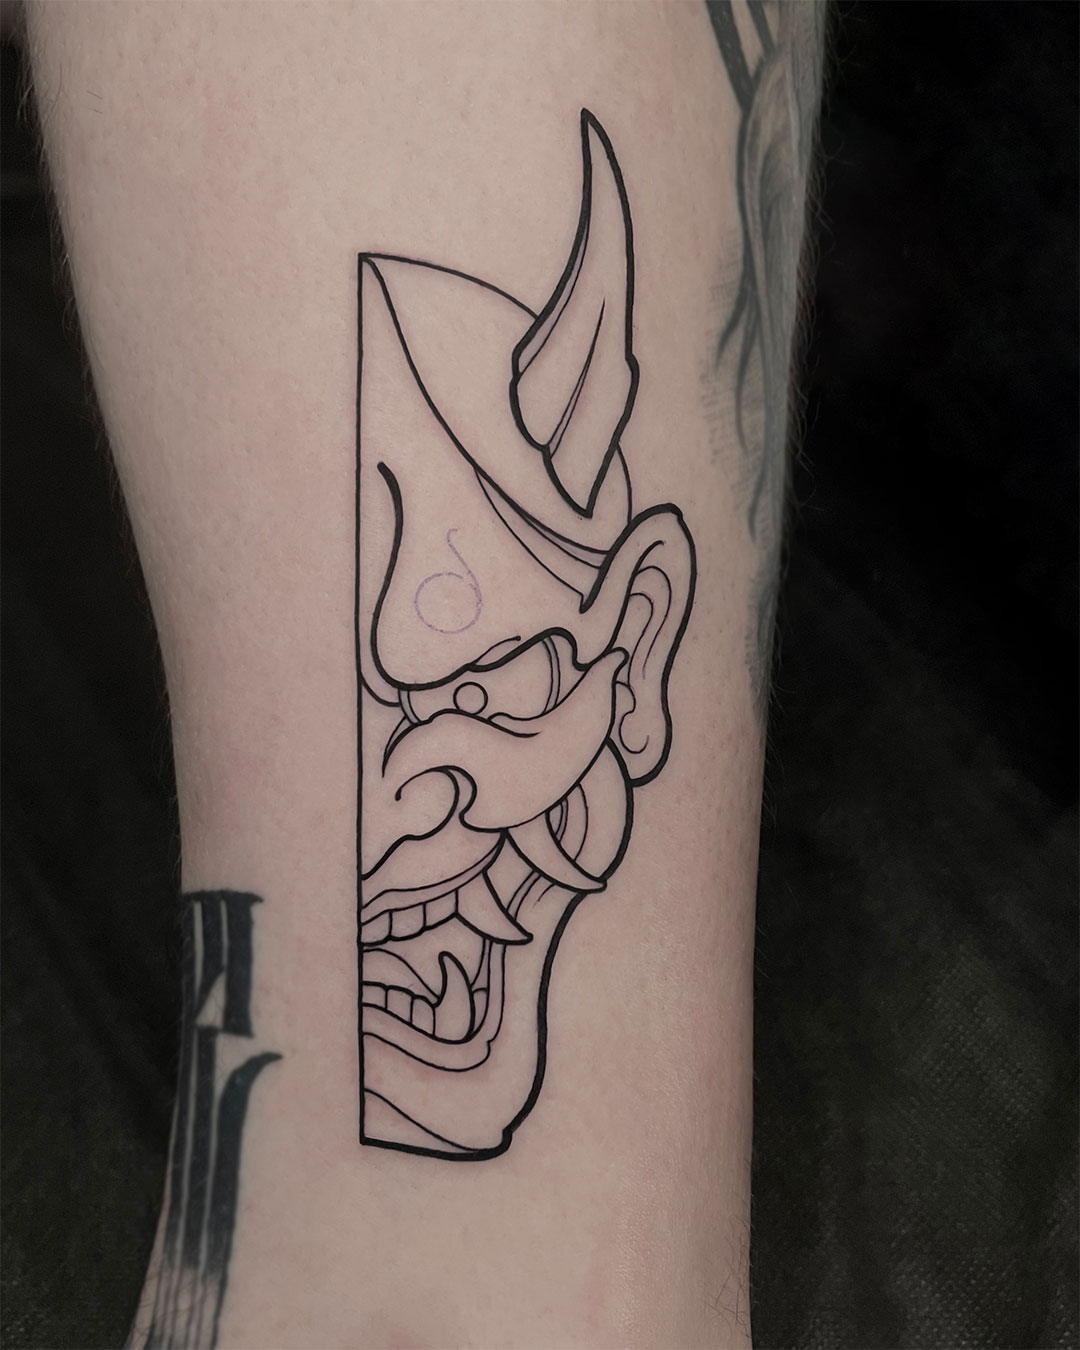
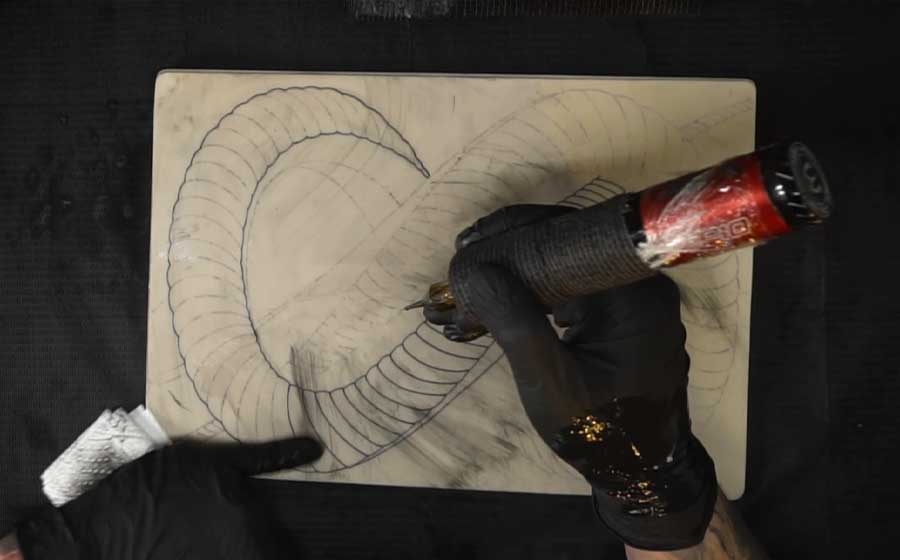
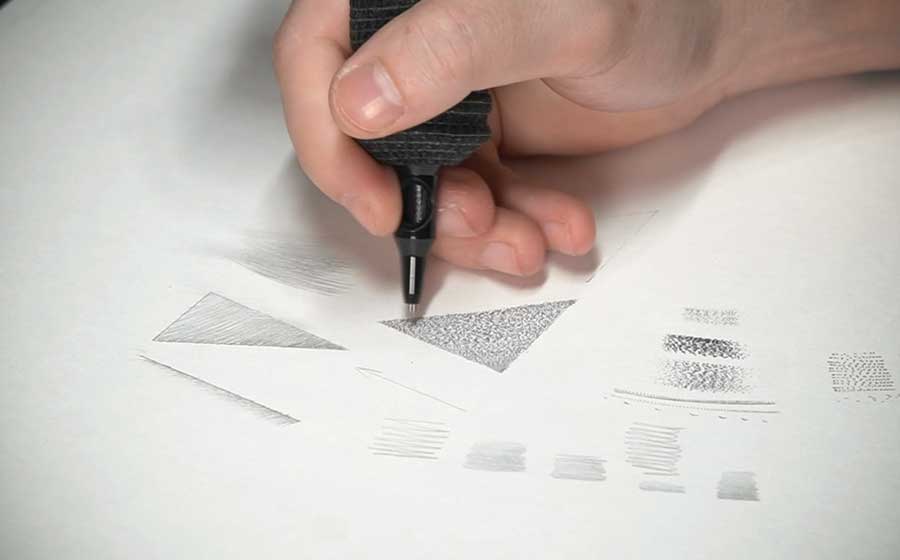
Static Line
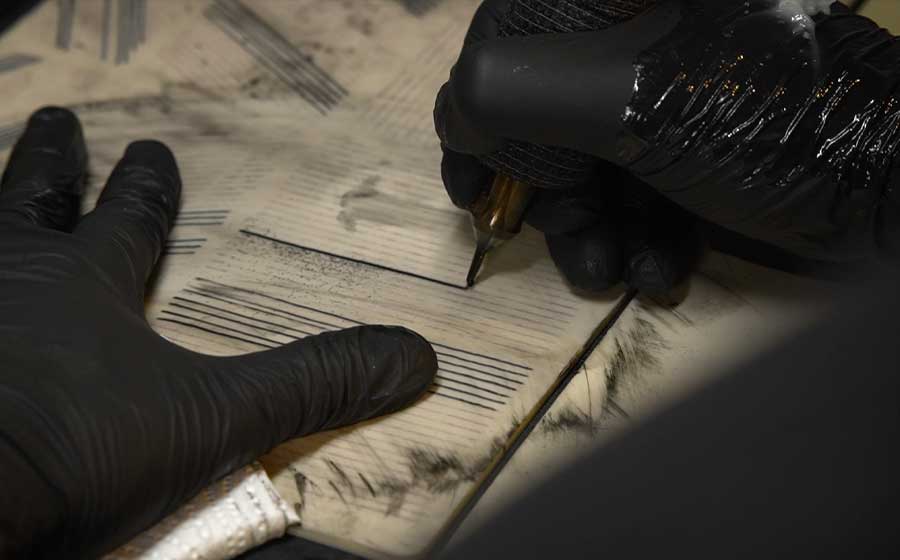
Consistent line in any direction without rotating the client. You’ll understand why a line heals patchy — and fix it.

Graphic Tattoo Techniques
28 lessons with mandatory assignments. 4 live-client workshops. For artists who want to level up their results or learn to tattoo.
Results
Consistent line in any direction without rotating the client. You’ll understand why a line heals patchy — and fix it.
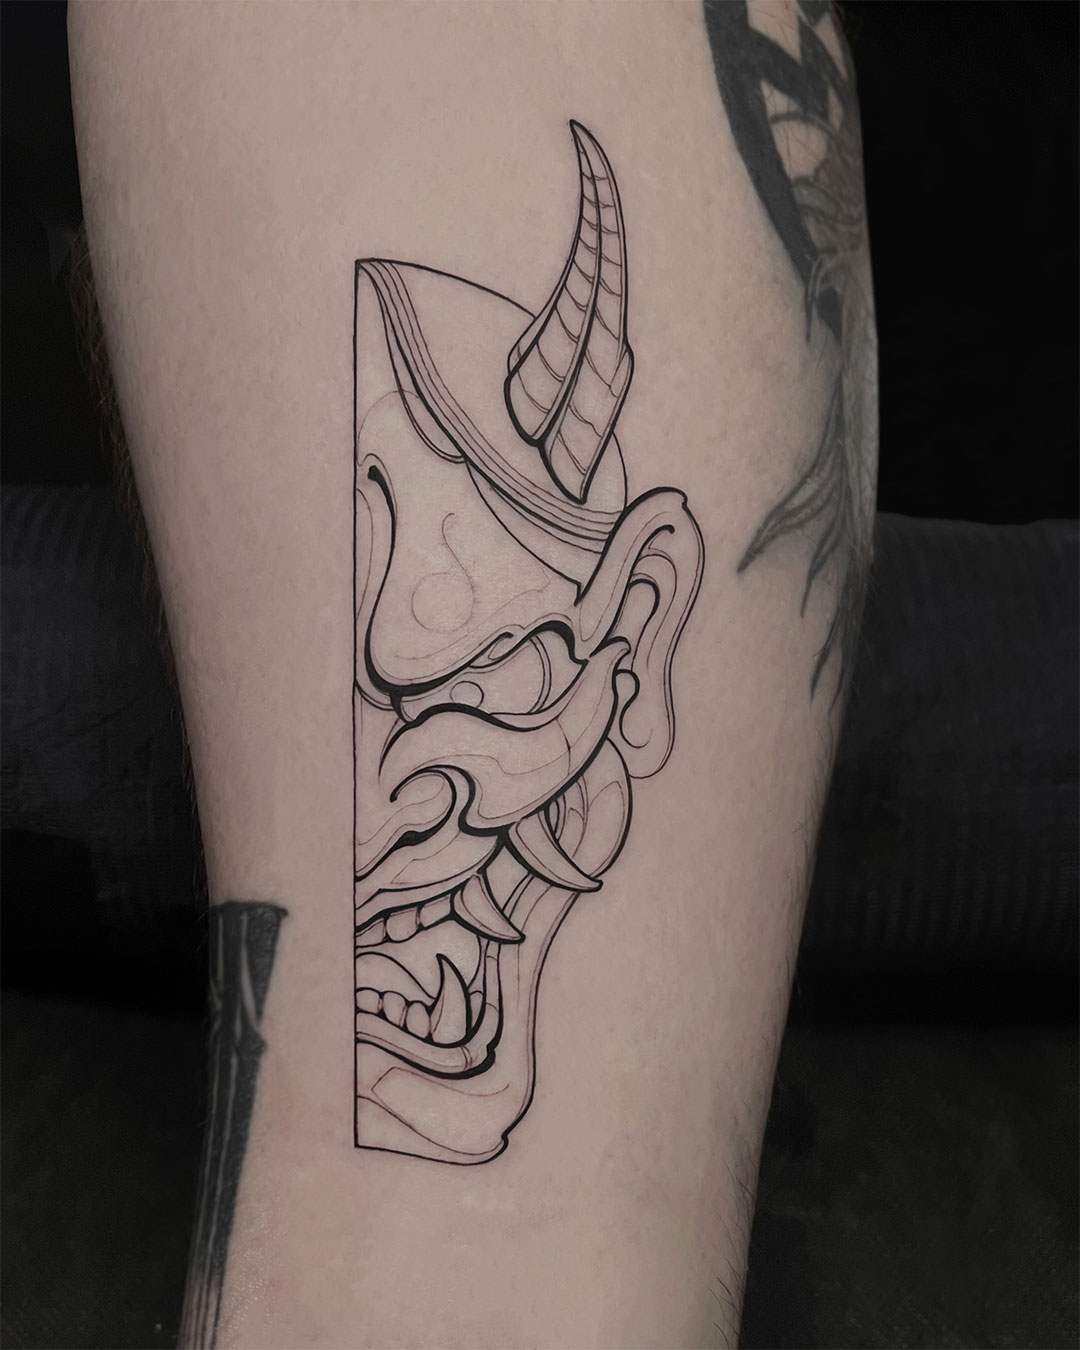
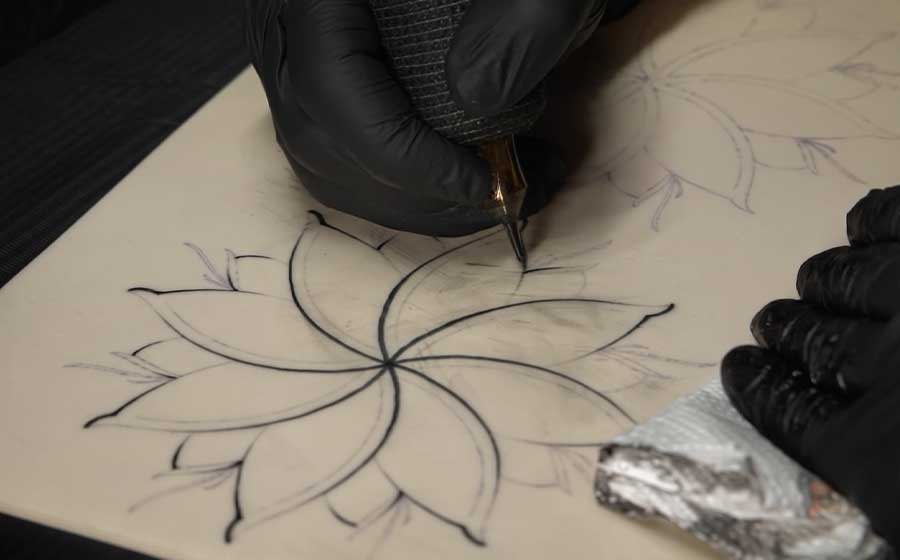
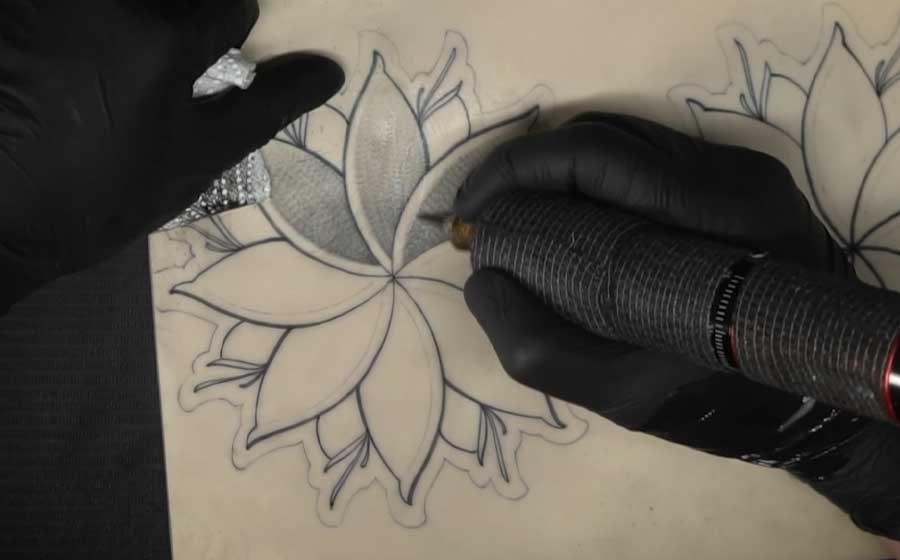
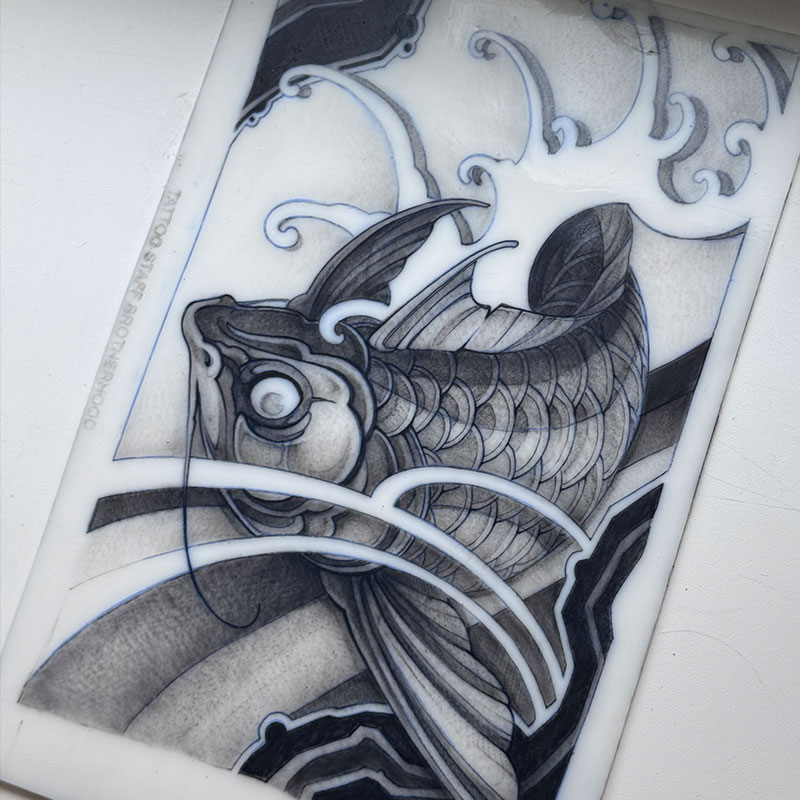
A line with thick-to-thin variation. How to achieve volume and show light through line work alone.
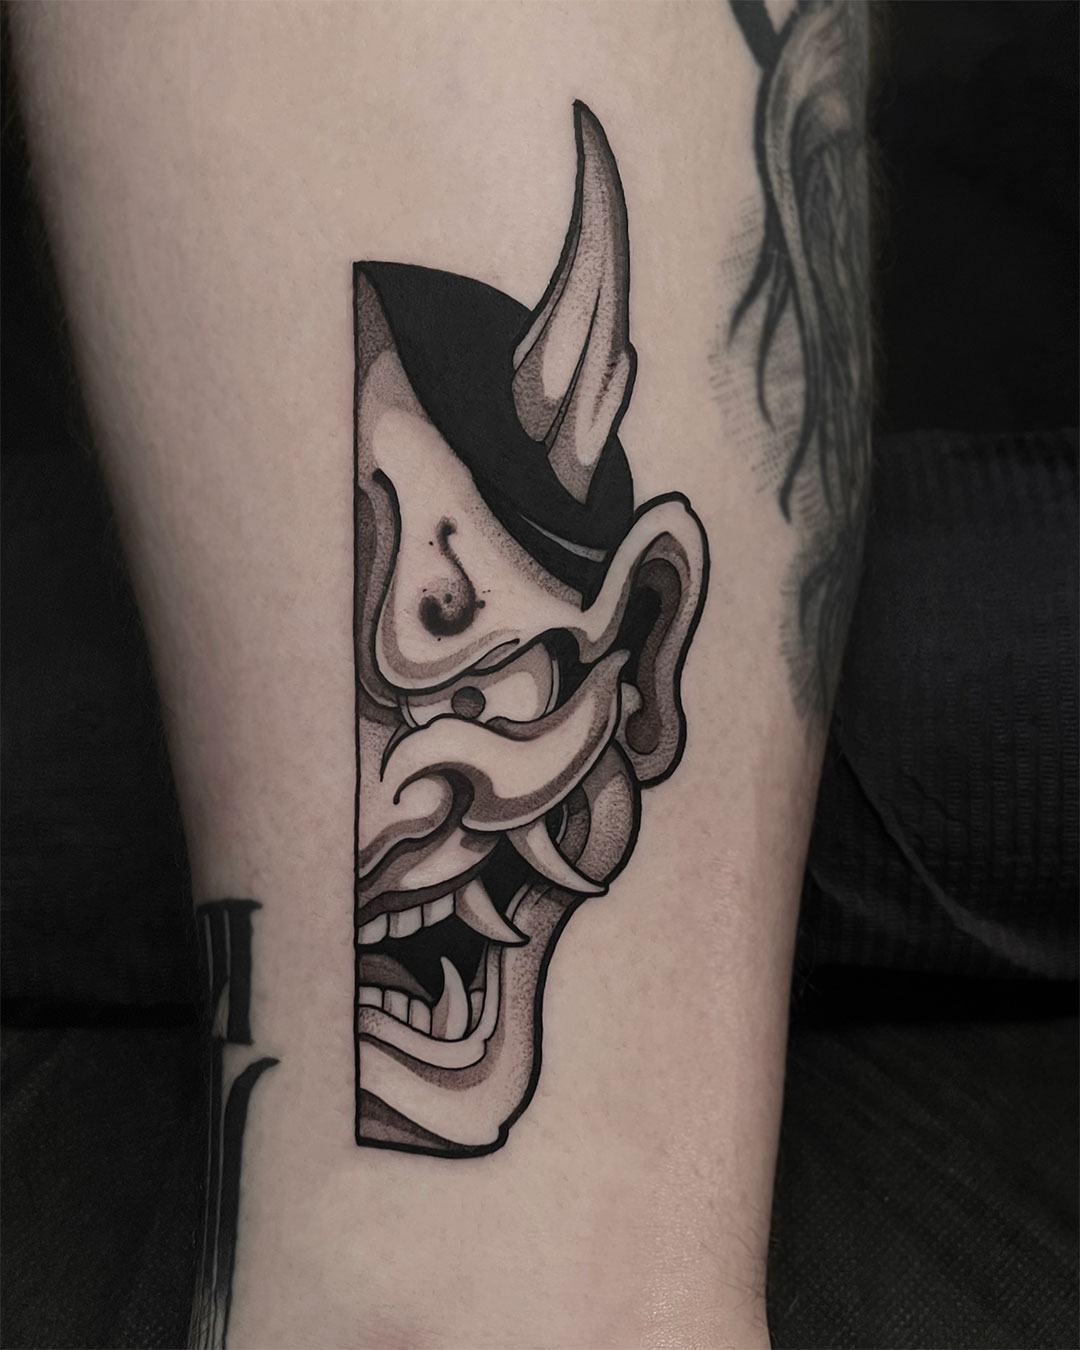
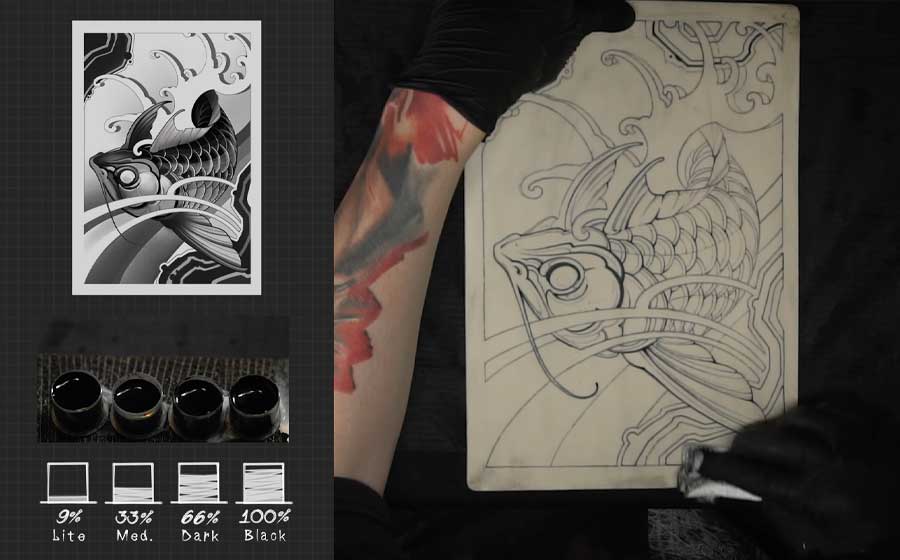
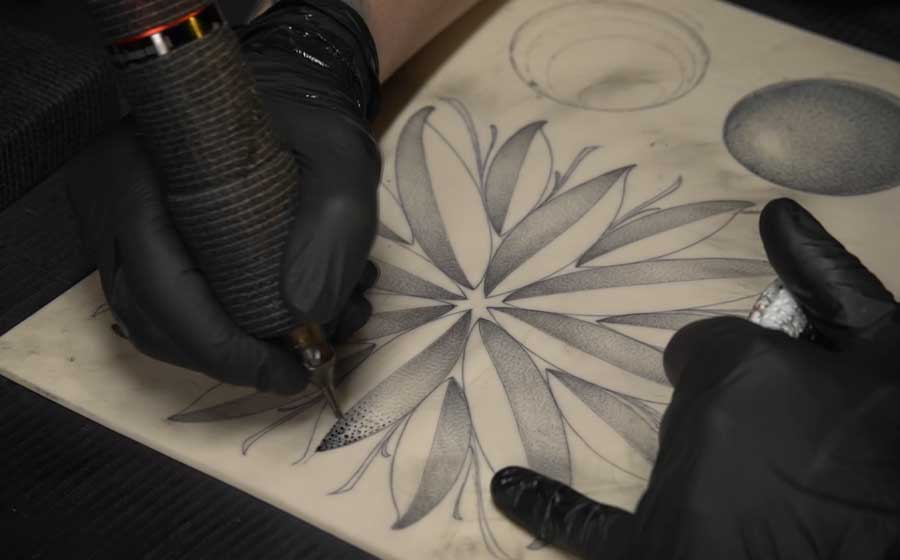
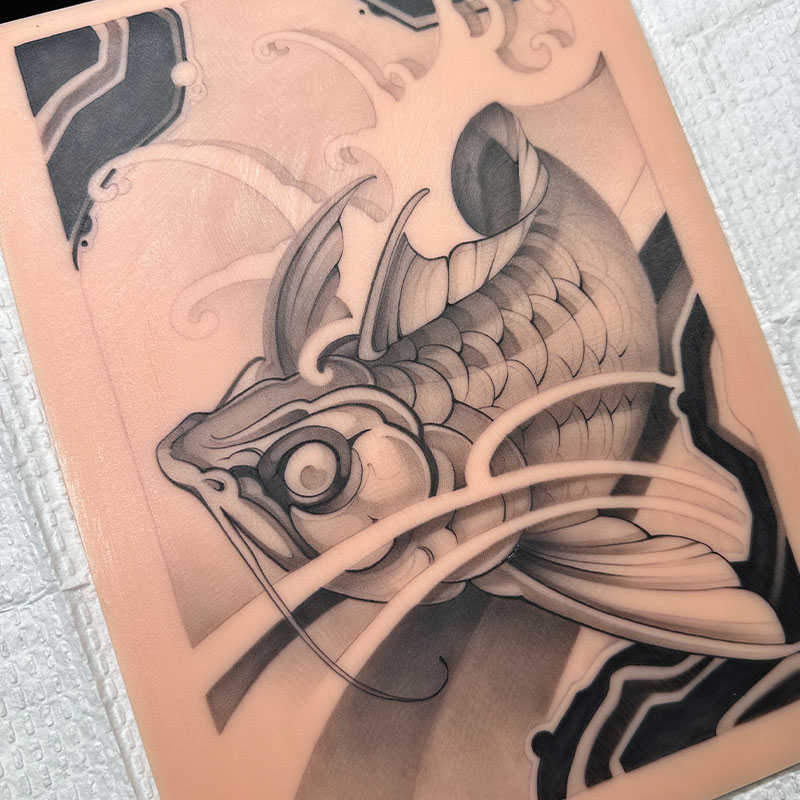
Achieve an even gradient in any direction with three whipshading techniques. A machine setup tailored to you & movement correction for cleaner results.
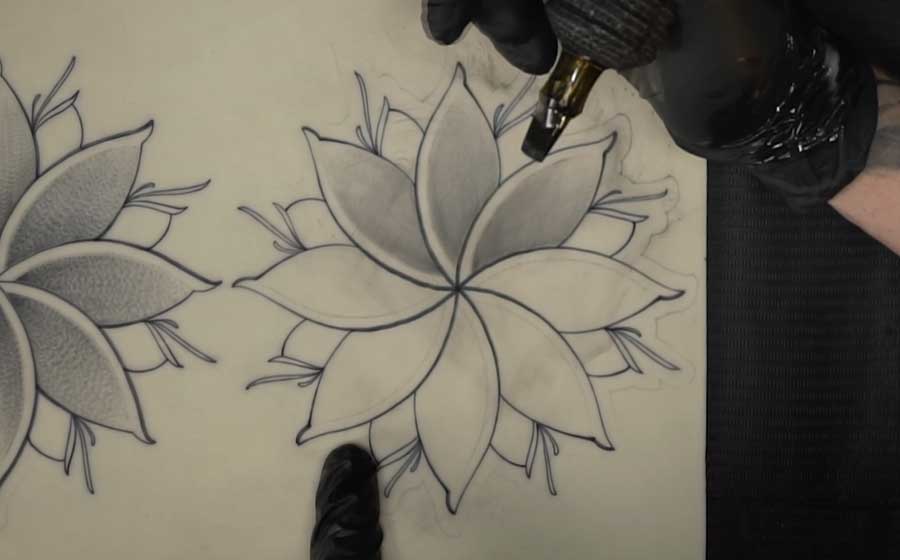
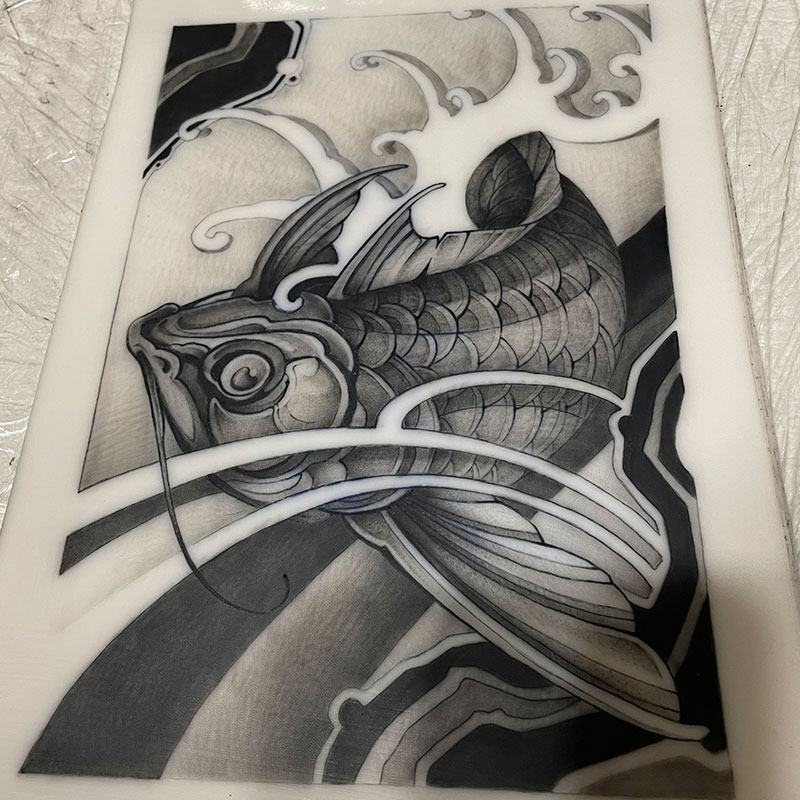
Crush the fear of large magnums. Techniques for confident mag work — smooth blends without streaks or bald spots. Build the skill of detailing with a mag.
This course doesn’t promise you’ll be a strong artist in 4 weeks. It gives you the mechanics to make your hand predictable. Growth in work quality takes anywhere from a few weeks to a few months of practice. Depends on how much you put in.
Format

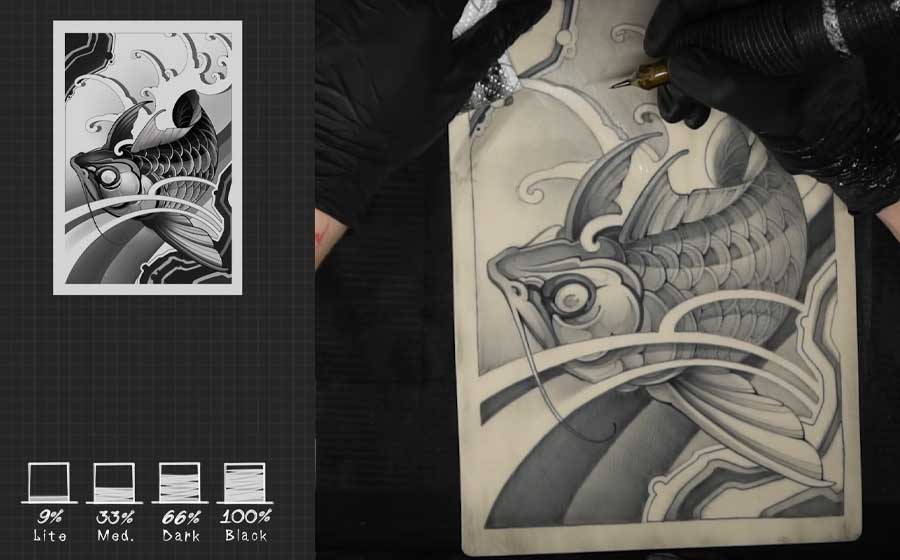
Every topic begins not with “do it like this,” but with an explanation of why a specific movement produces a specific result. We connect hand position to needle depth, and depth to line stability. Dmitrii demonstrates each exercise on camera — both in real time with voice commentary and in time-lapses — so you see the full dynamic process. You watch each technique on screen and immediately replicate it.
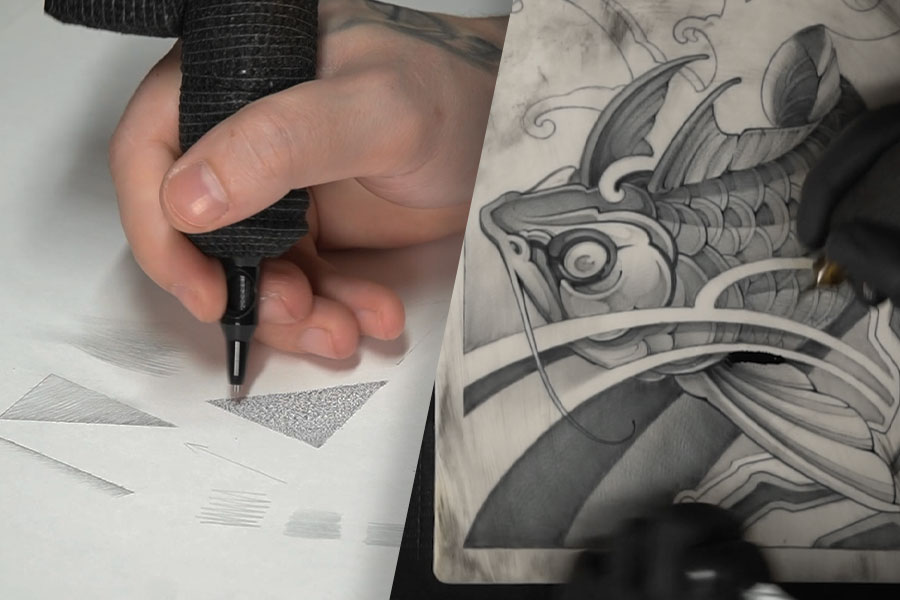
Every lesson includes a structured assignment. First, pencil drills on paper or tablet to build muscle memory — no risk, no supplies needed. Then you transition to the same exercises on fake skin. Each step builds from simple to more complex, guiding you steadily toward a clean, confident result.
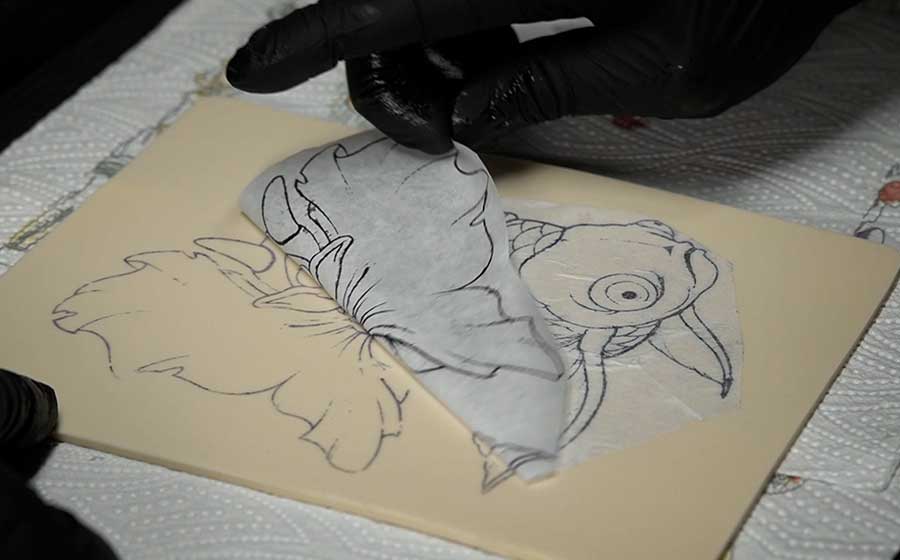
At the end of each module you’ll find a full workshop. Dmitrii performs the technique on a live client — from stencil transfer to the final pass — so you can see how it comes together in real time.

Until the assignment is submitted — the next lesson is locked. This isn’t gatekeeping for its own sake: in tattooing, skill builds strictly in order, and skipping a step breaks everything that follows. The assignment is either approved or sent back for revision with written feedback.
You can’t move to the next video until you’ve completed your previous assignment. This isn’t about holding you back — it’s a structured system for building real skills. YouTube gives you information; this course delivers progression.
The course works with any rotary machine. During live workshops, Dmitrii always works with the student’s equipment and demonstrates technique on it. If you have a machine, a tablet, or a pencil — you can start.
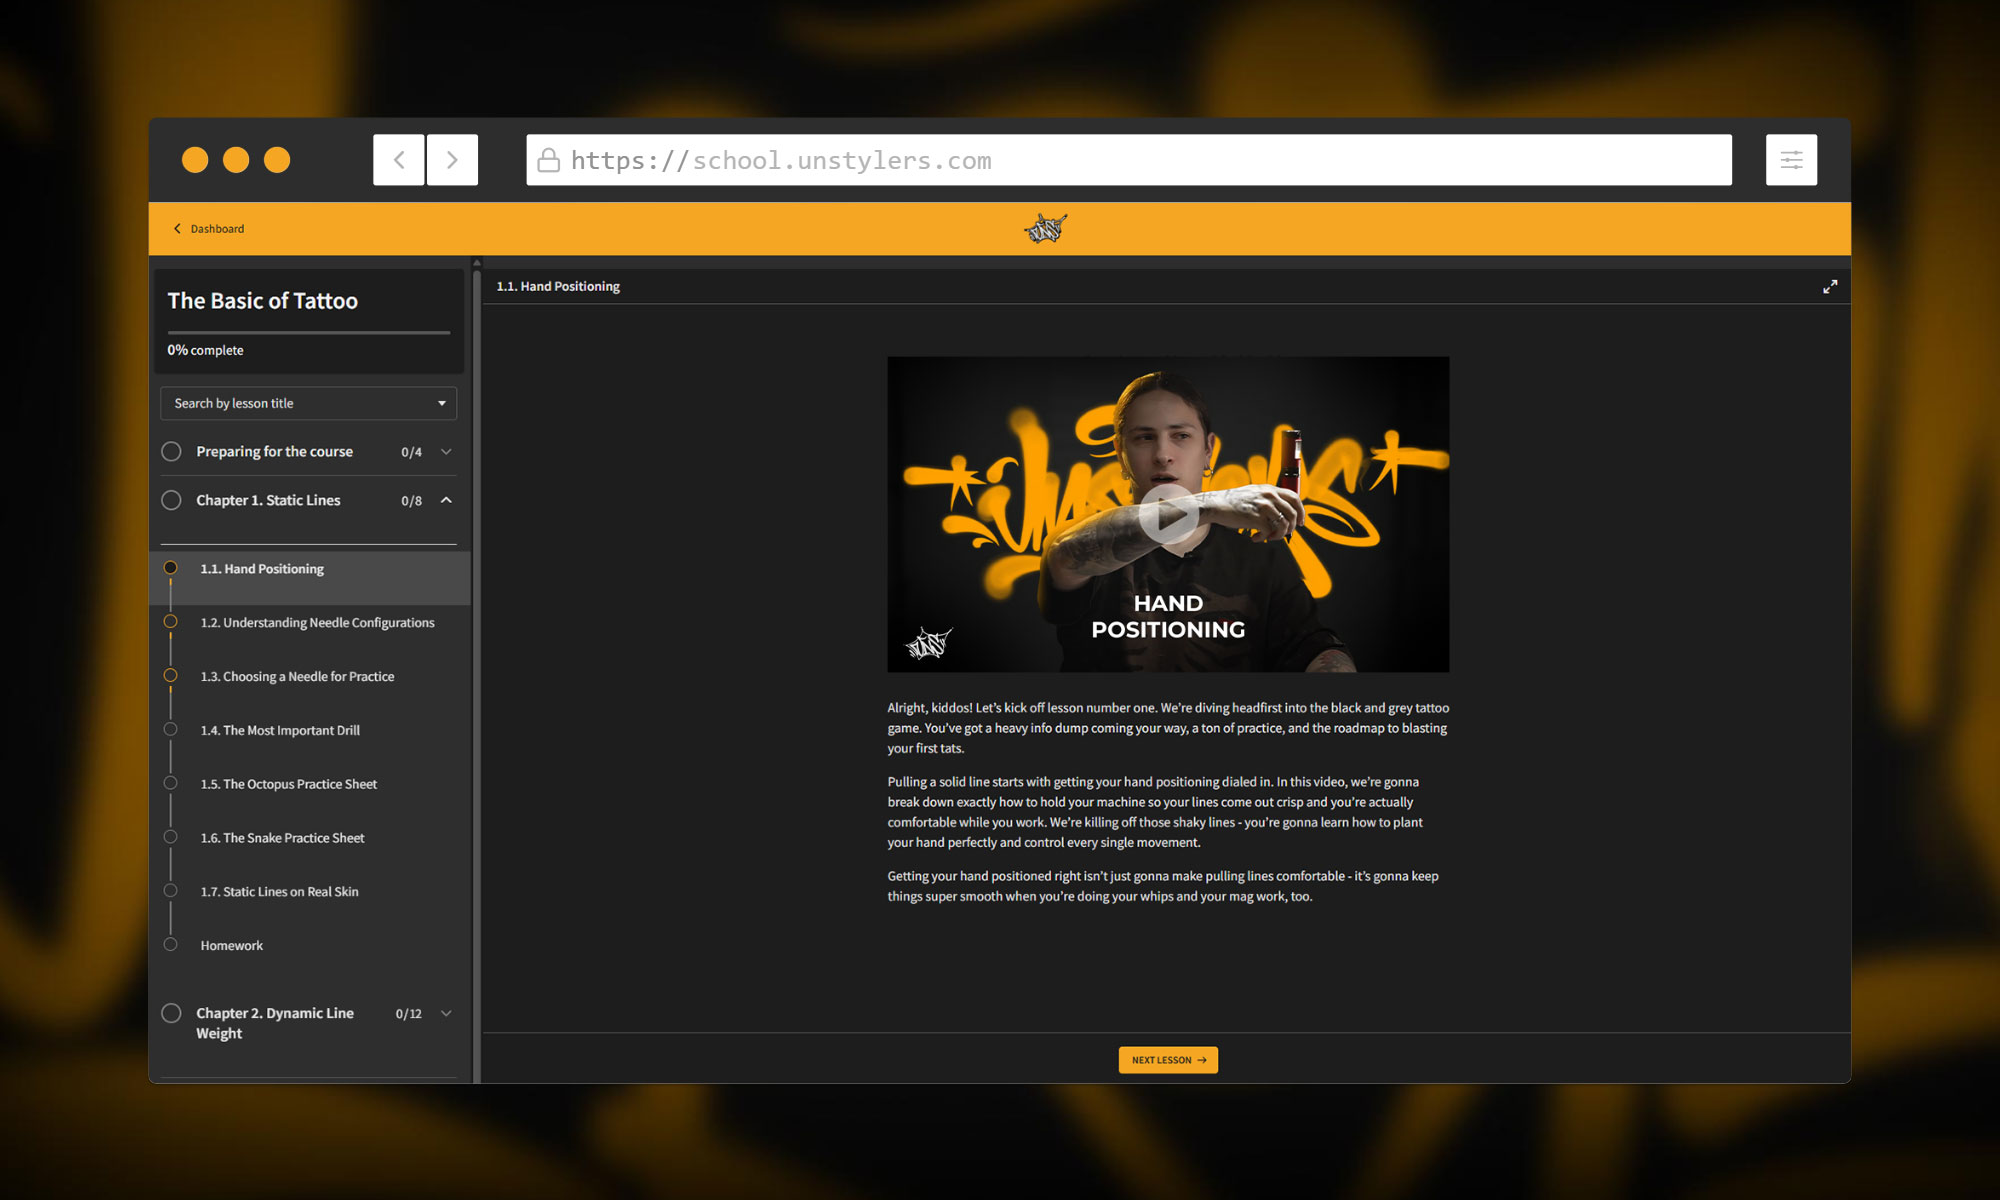
Platform
Student dashboard: lessons, assignments, progress. All in one place.
Program
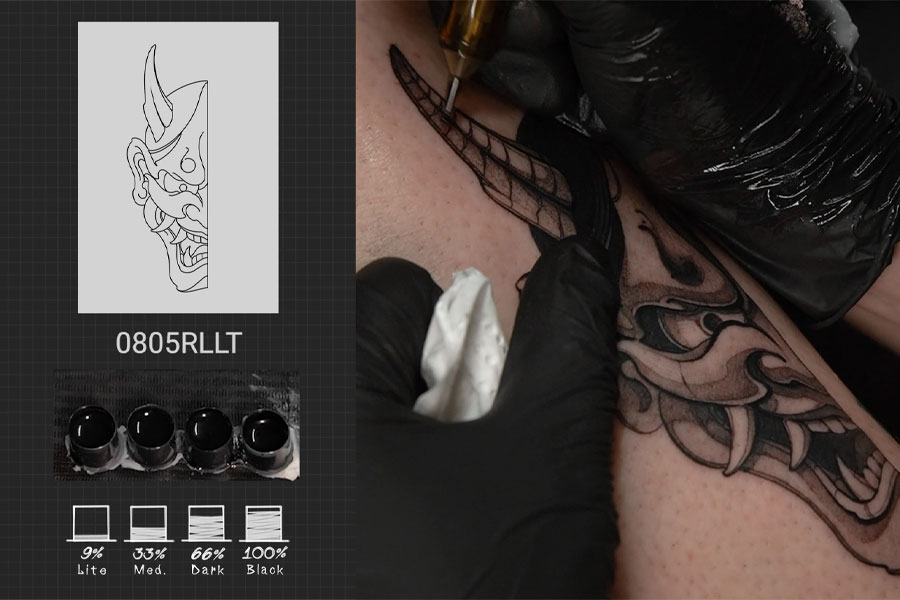
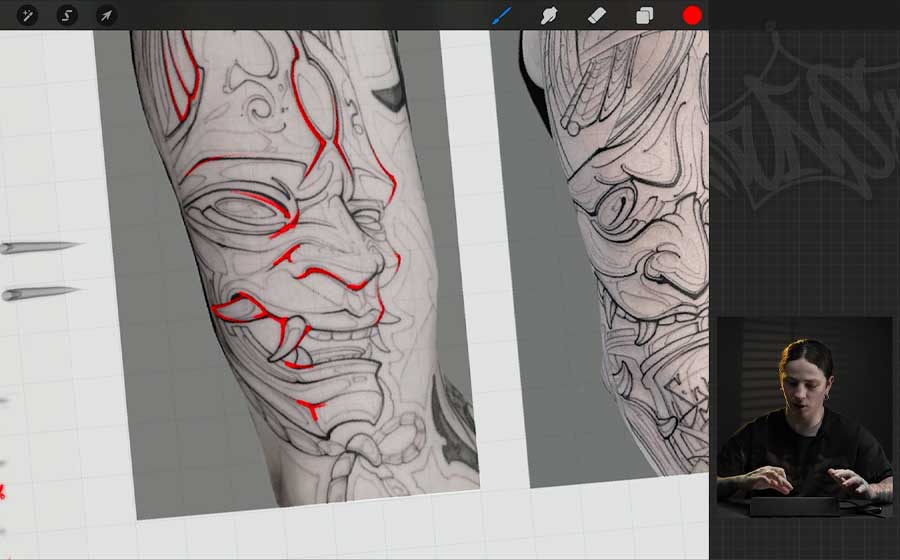
Lesson screenshots
Lesson screenshots

What you’ll understand after this module
Why one line works and another doesn’t. How hand position determines needle depth, and depth determines how a line heals.
Lesson screenshots
What you’ll understand after this module
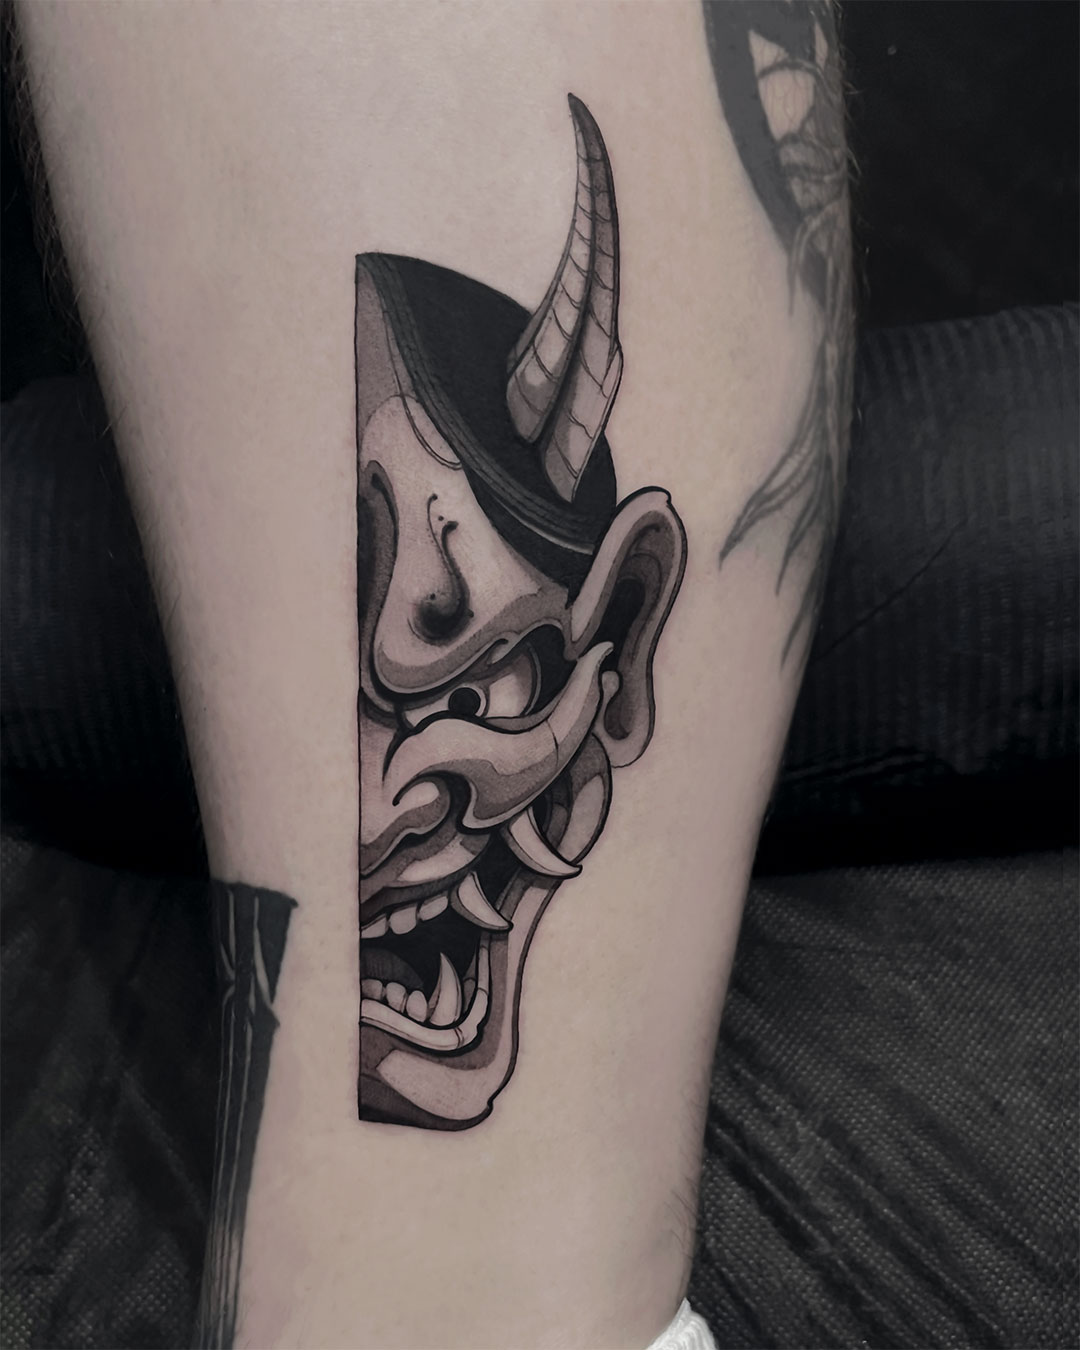
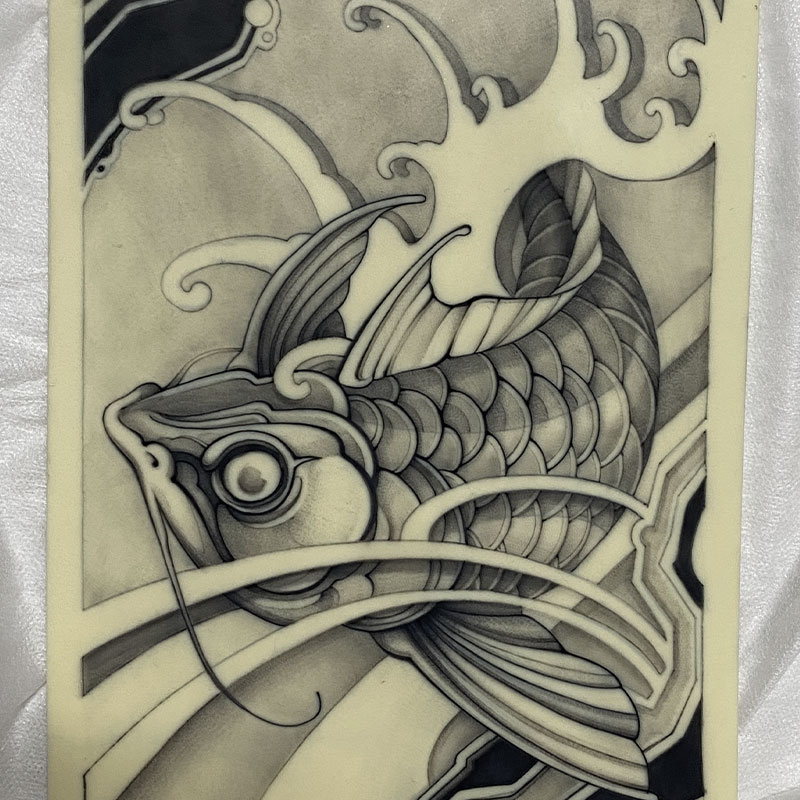
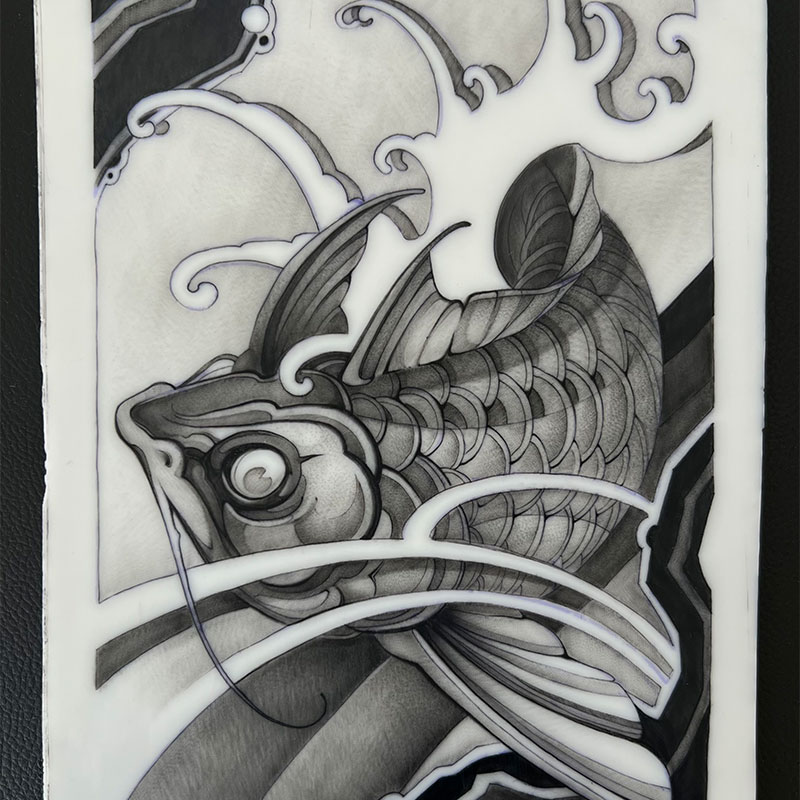
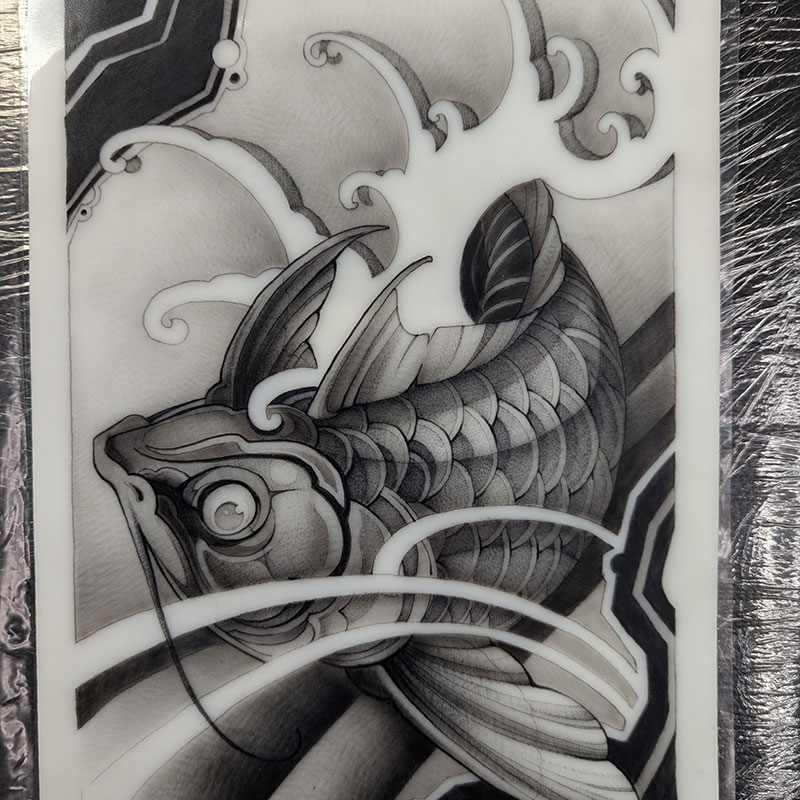
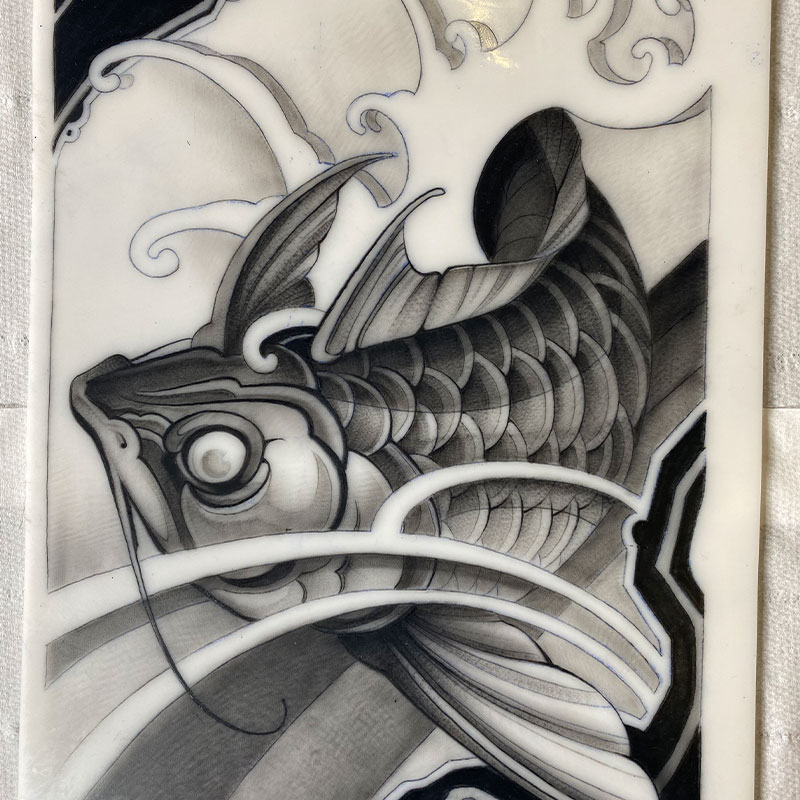
How a single outline builds volume without any shading. Why some pieces look flat and others three-dimensional. Understanding how to lay the foundation of a piece through line work alone. How the outline defines the character of your style.
Lesson screenshots
What you’ll understand after this module
How to avoid common mistakes when laying a stroke. The order of tone application to simplify the work. Why some artists’ blends look smooth and others muddy.
Lesson screenshots
What you’ll understand after this module
How to work with large mags without needing a set of five different needles. How to pack clean tone. How pendulum motion and the corner give different results — and when to use each.

Instructor
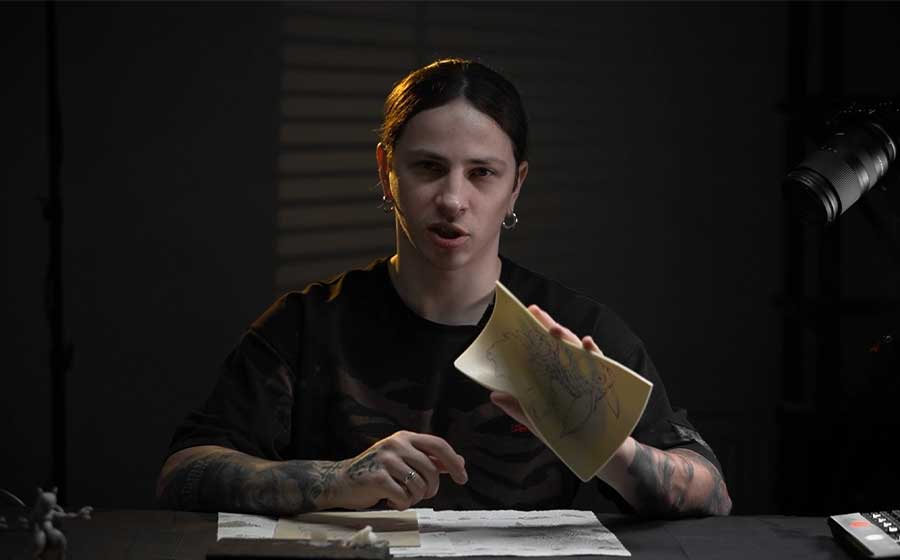
Dmitrii Uglyx
He specializes in black & grey graphic tattooing, with roots in graffiti — where his approach to hand positioning, elbow drive, dynamic line weight, and sharp corner work was developed.
Dmitrii is direct and honest in his teachings. He’ll point out mistakes clearly and show you how to work through them to get better results.
“I spent way more time finding my path than you will. Once you go through all of this — building your hand from the ground up — you’ll grow pretty fast.”
Dmitrii Uglyx, Lesson 1.1
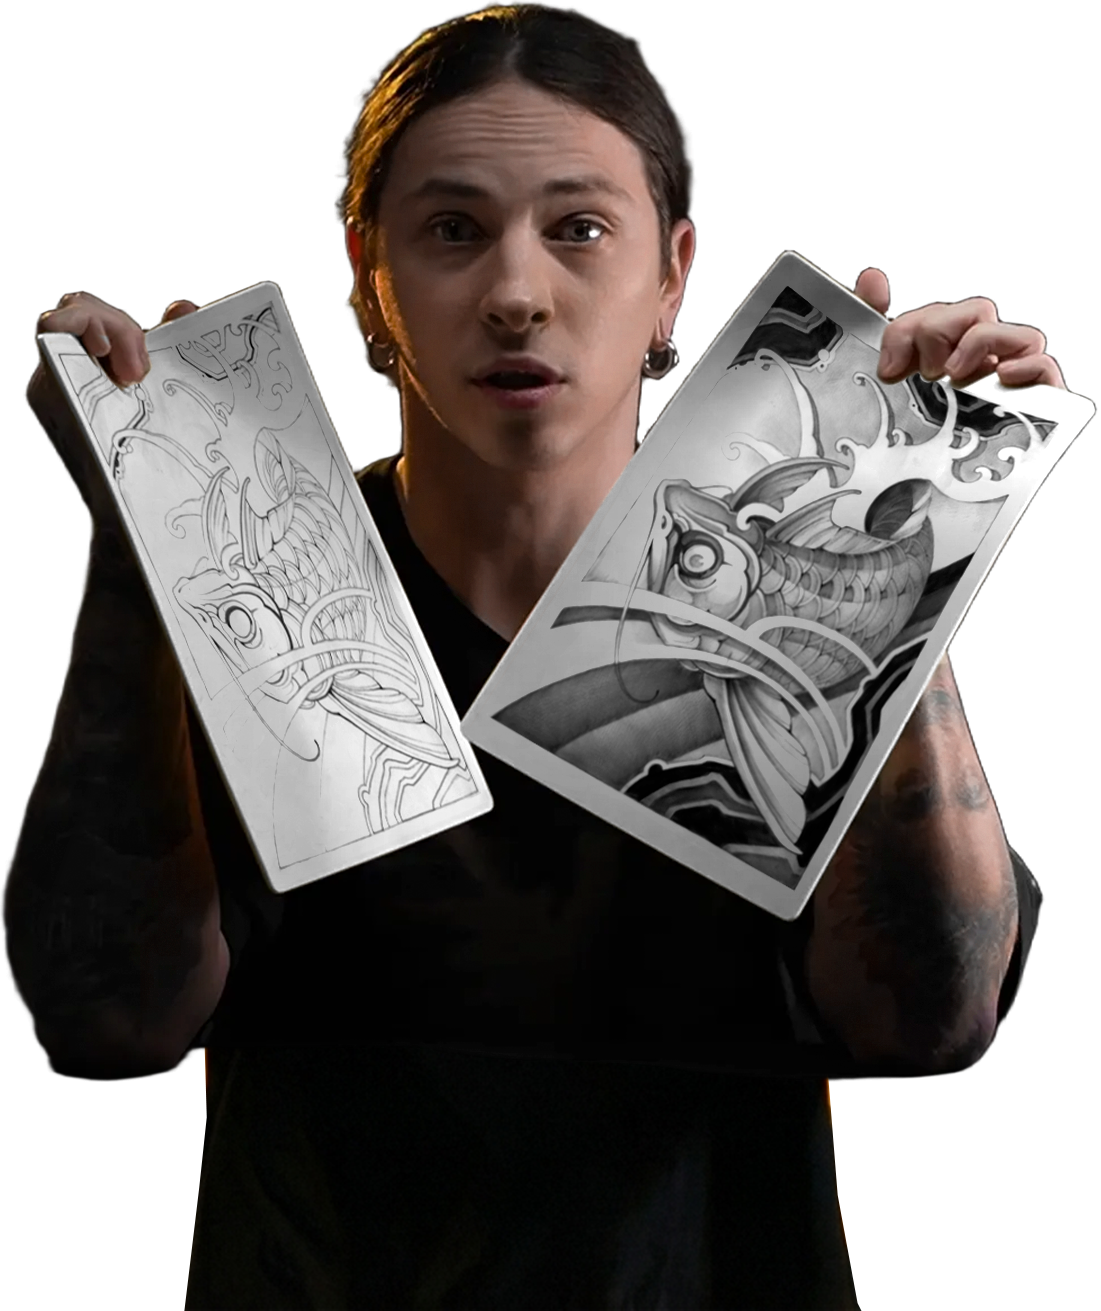
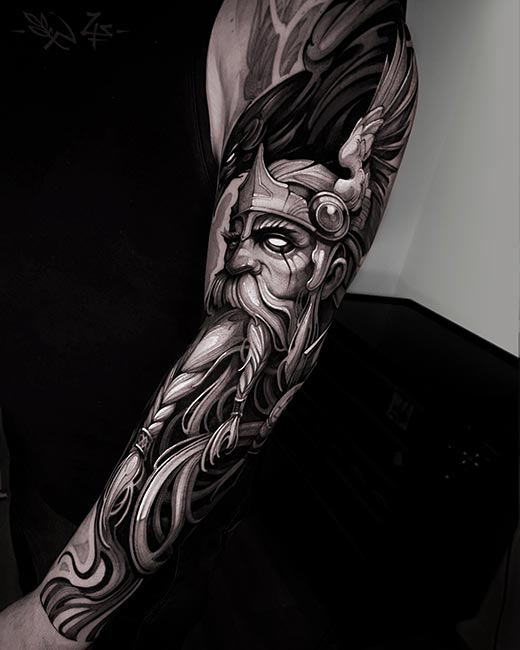
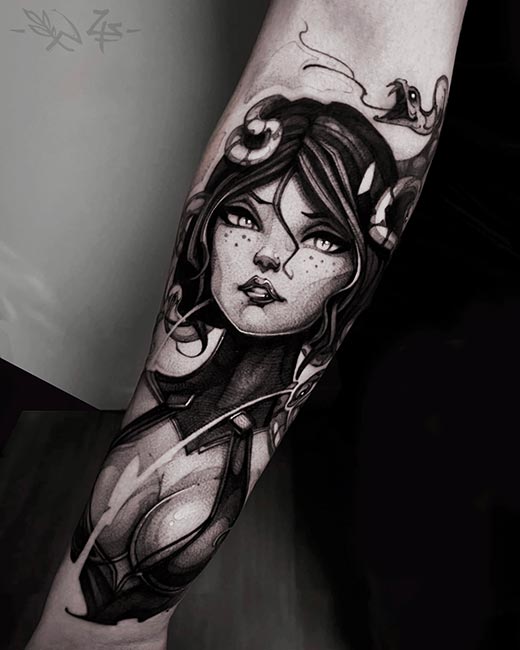
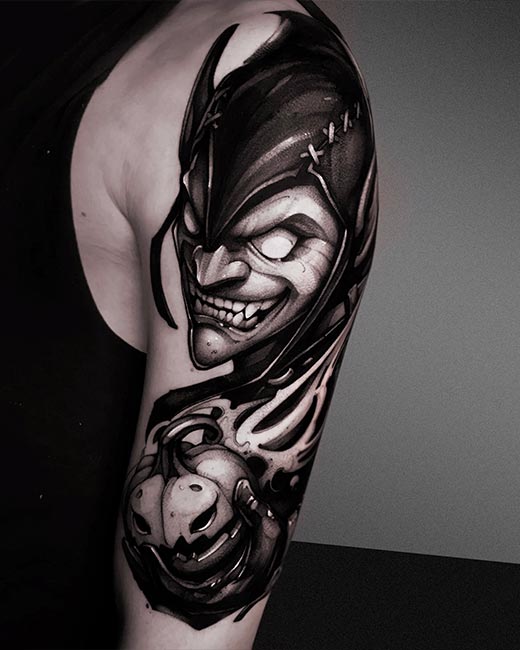
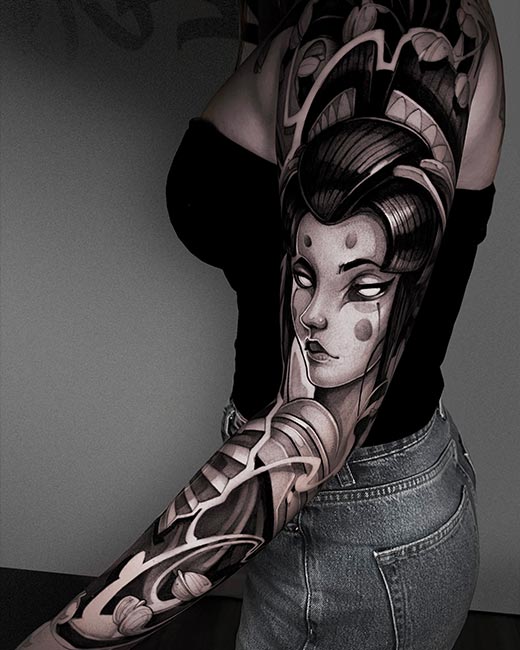
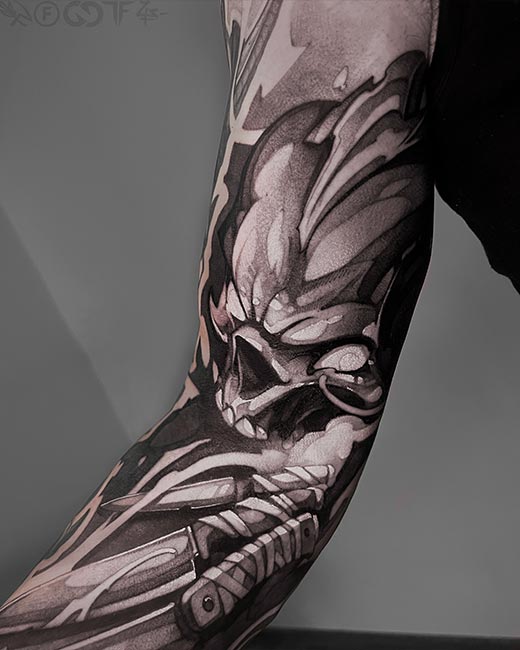
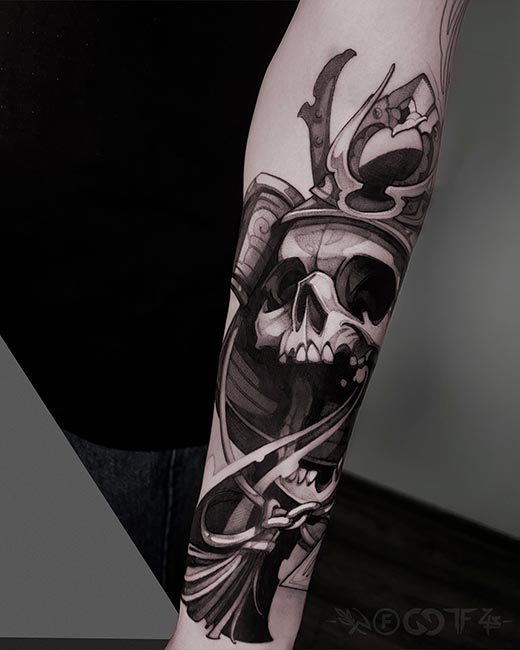
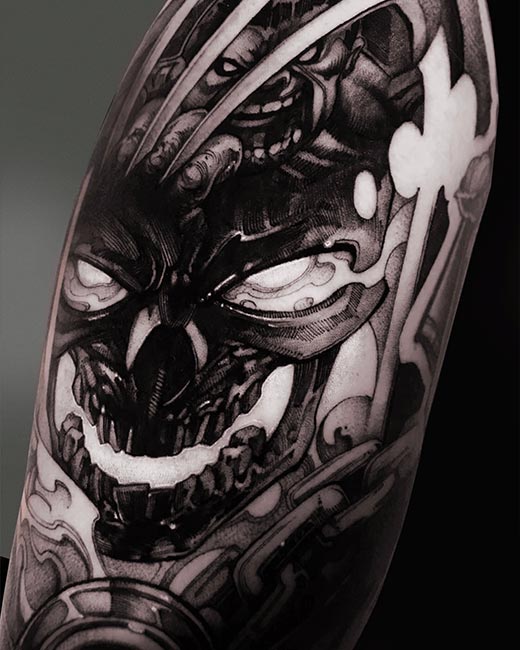
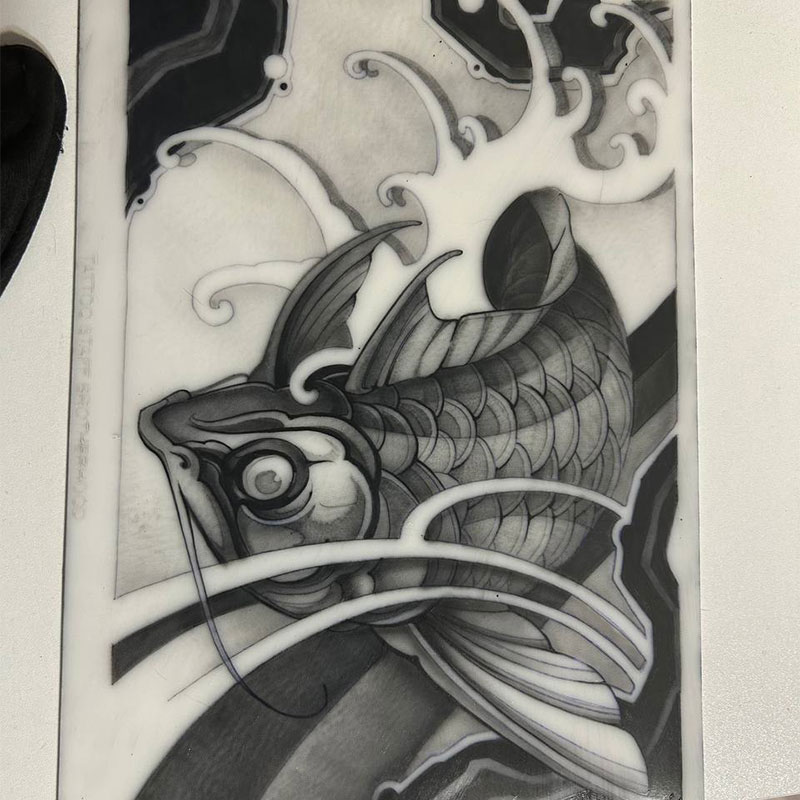
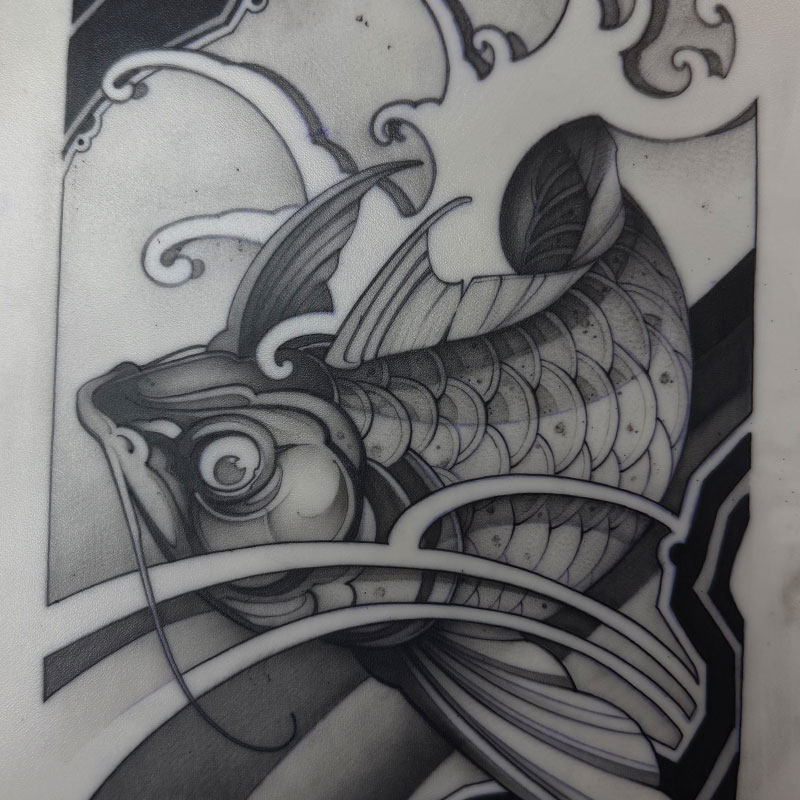
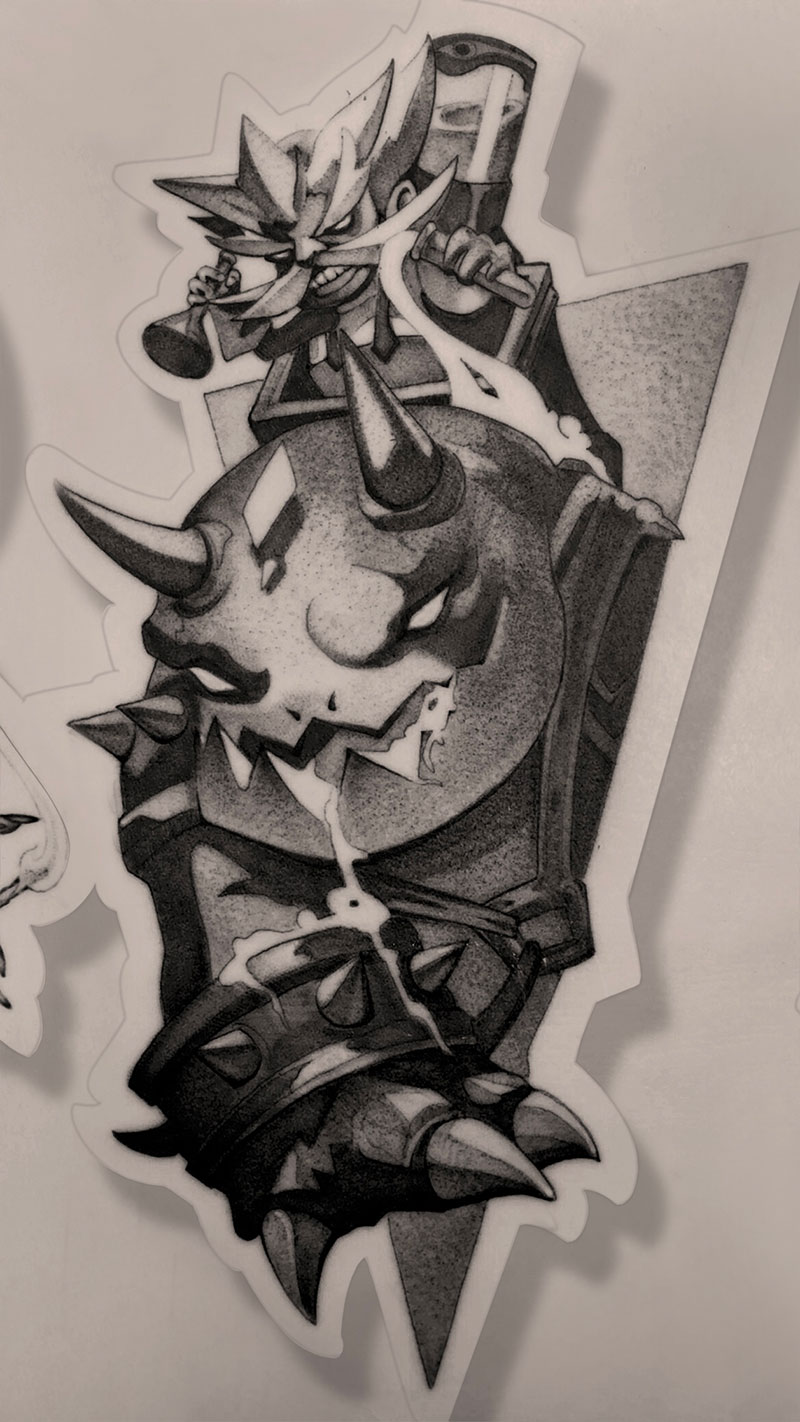
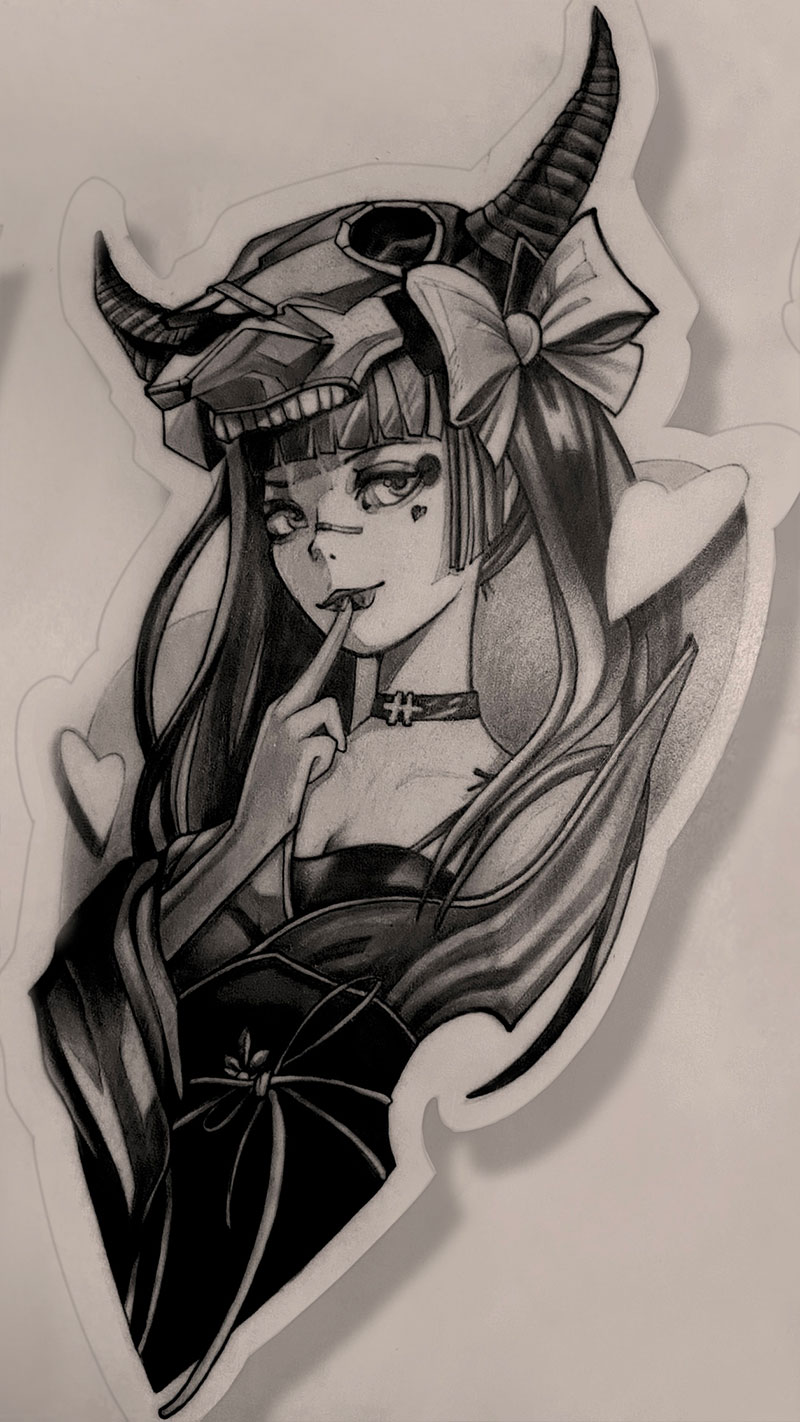
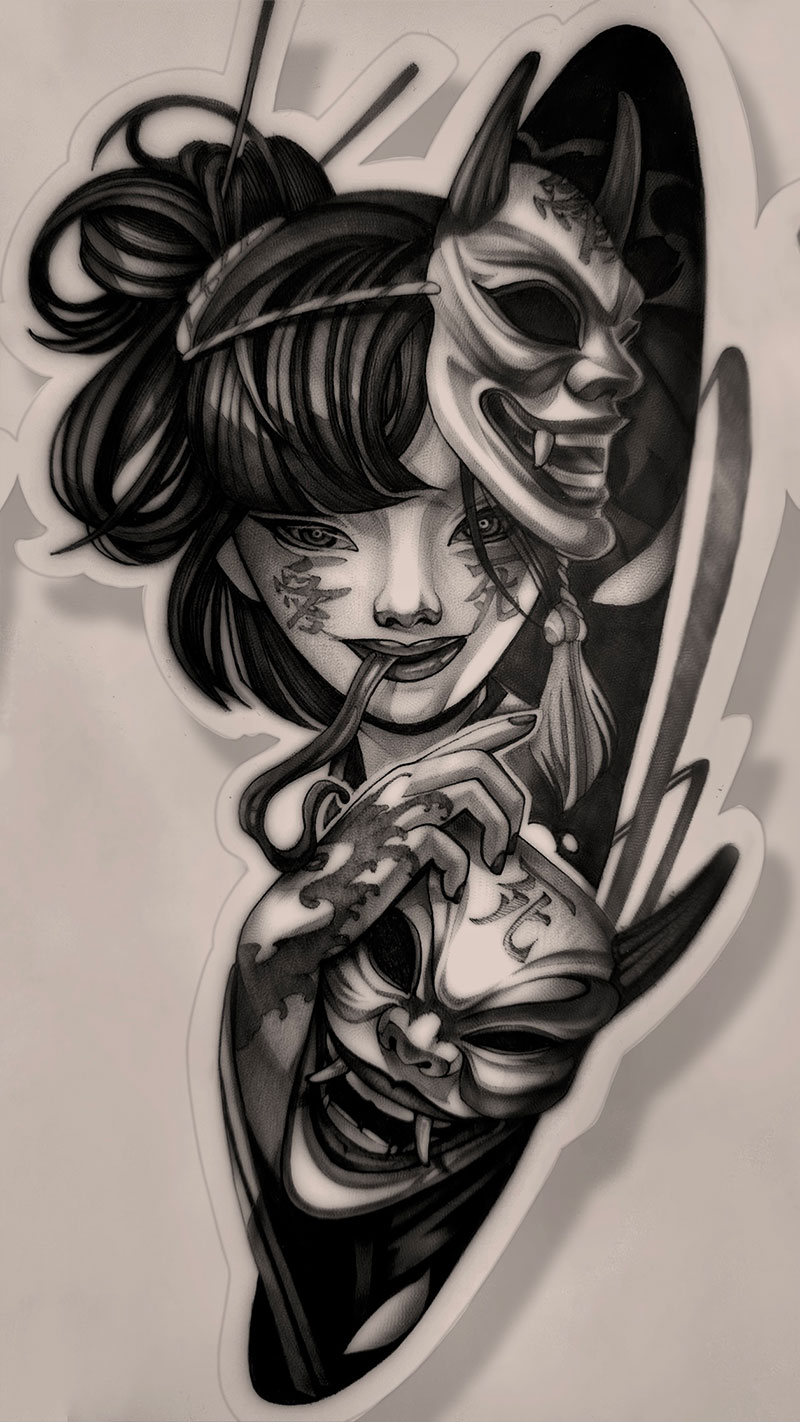
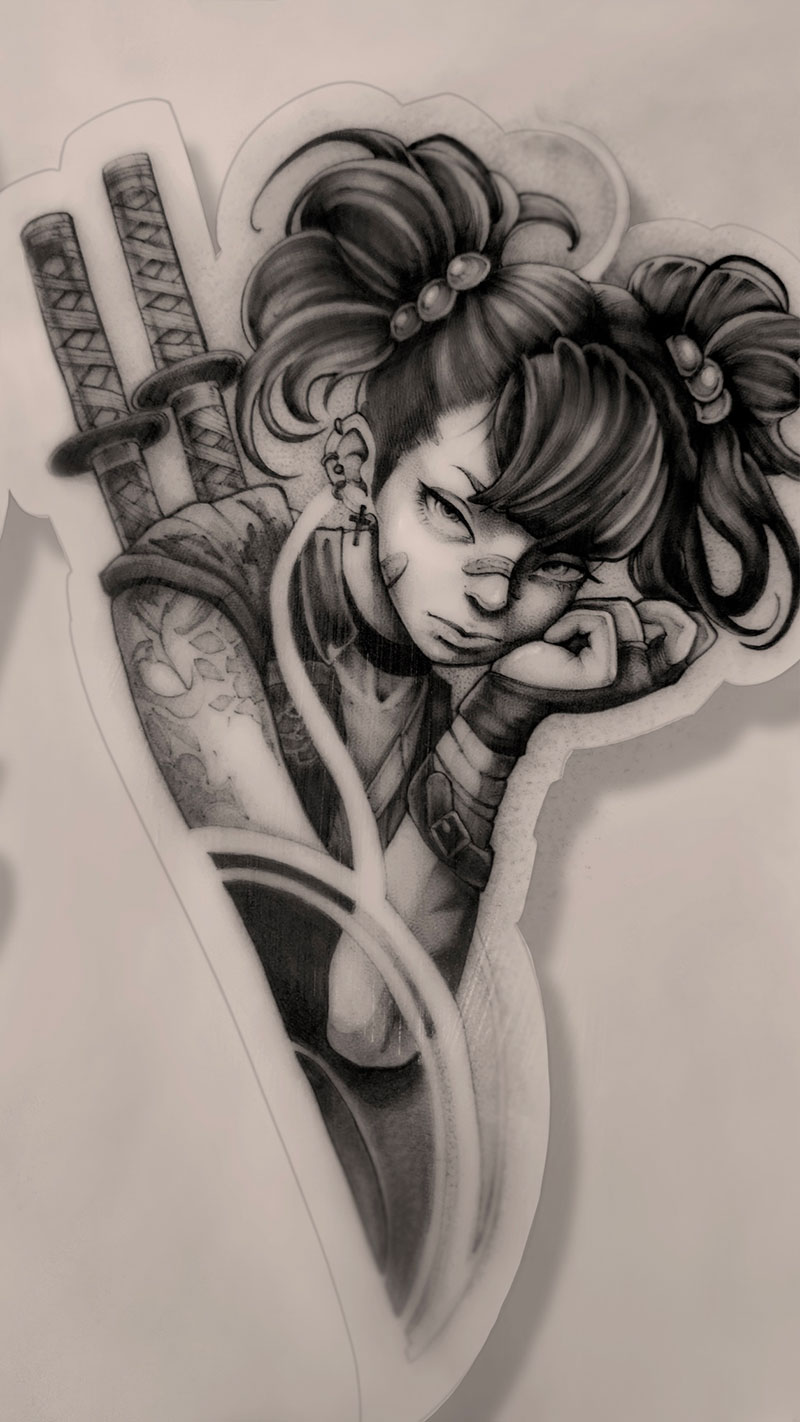
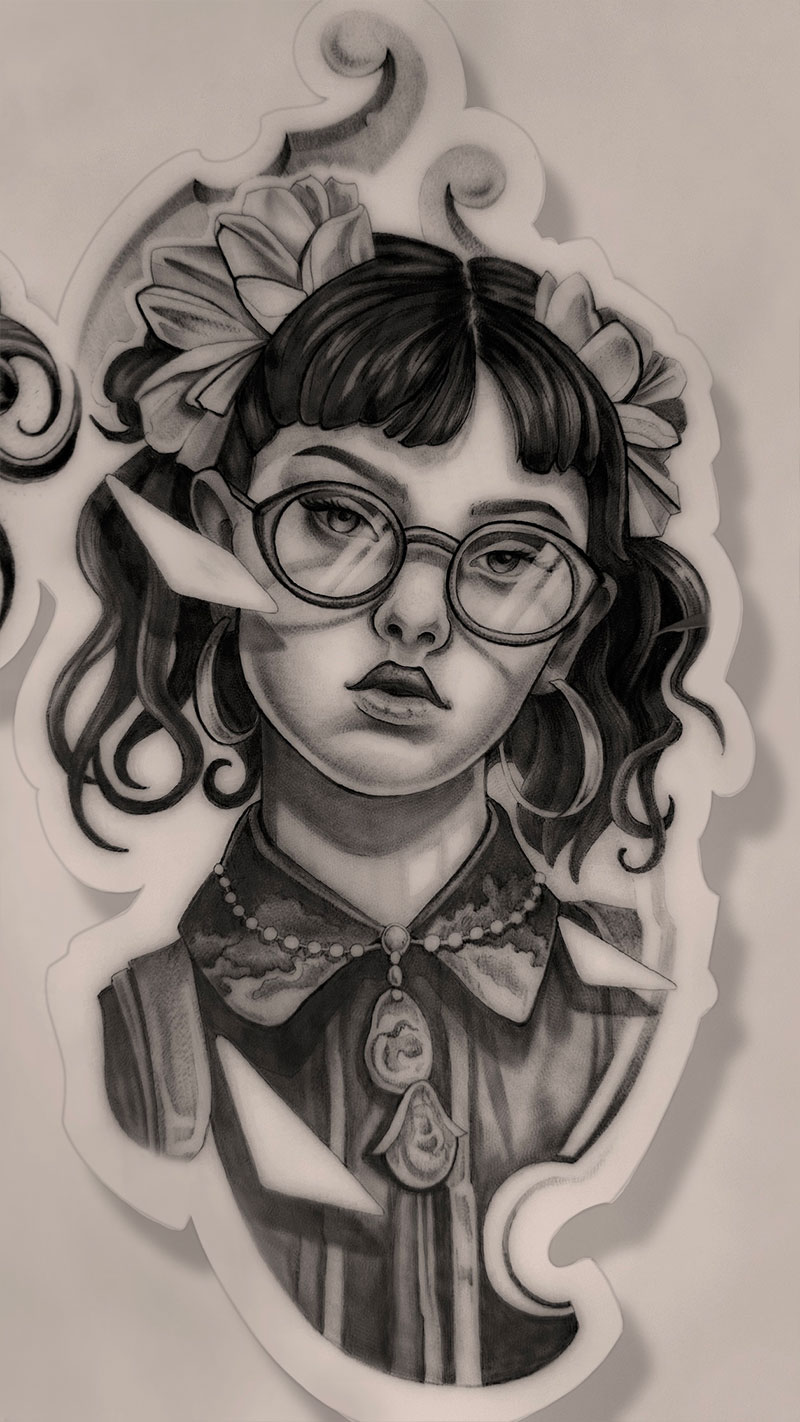
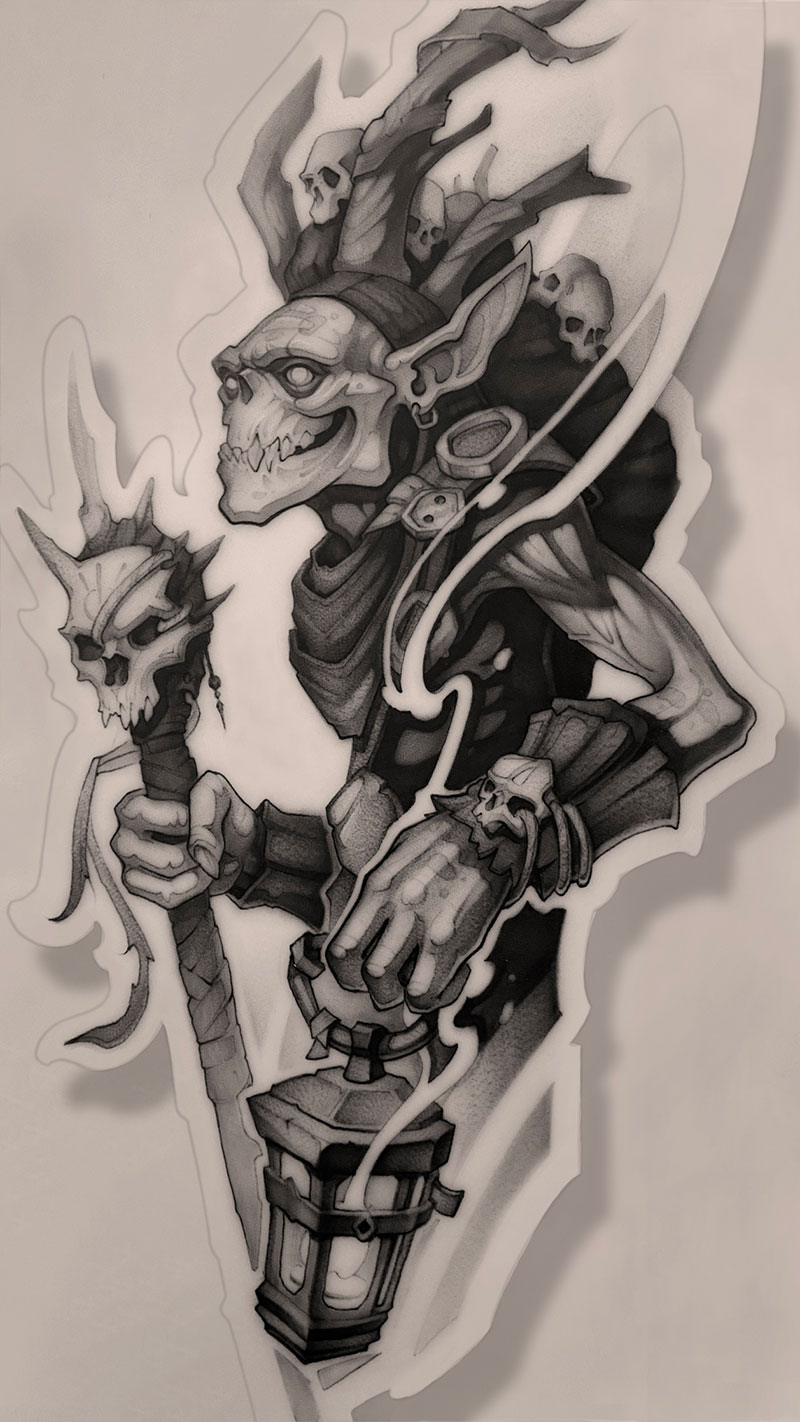
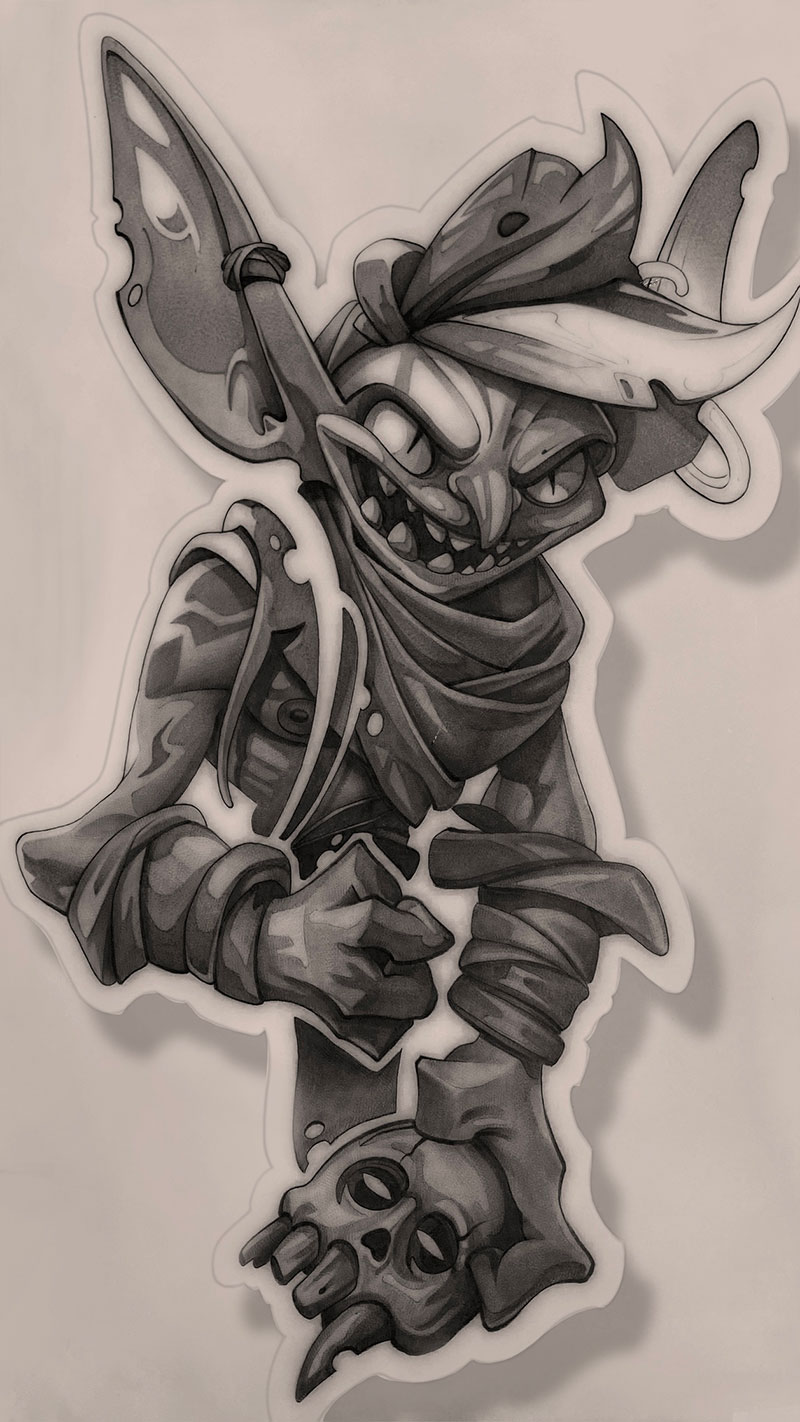
Portfolio
Scroll through the carousel. This is what happens when your tattooing technique is dialed in.
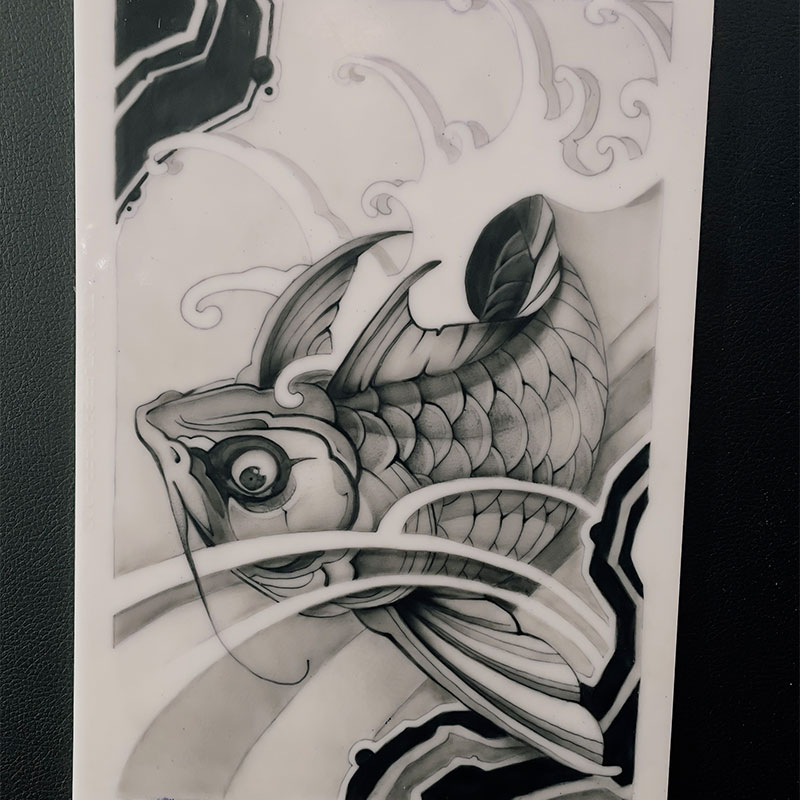
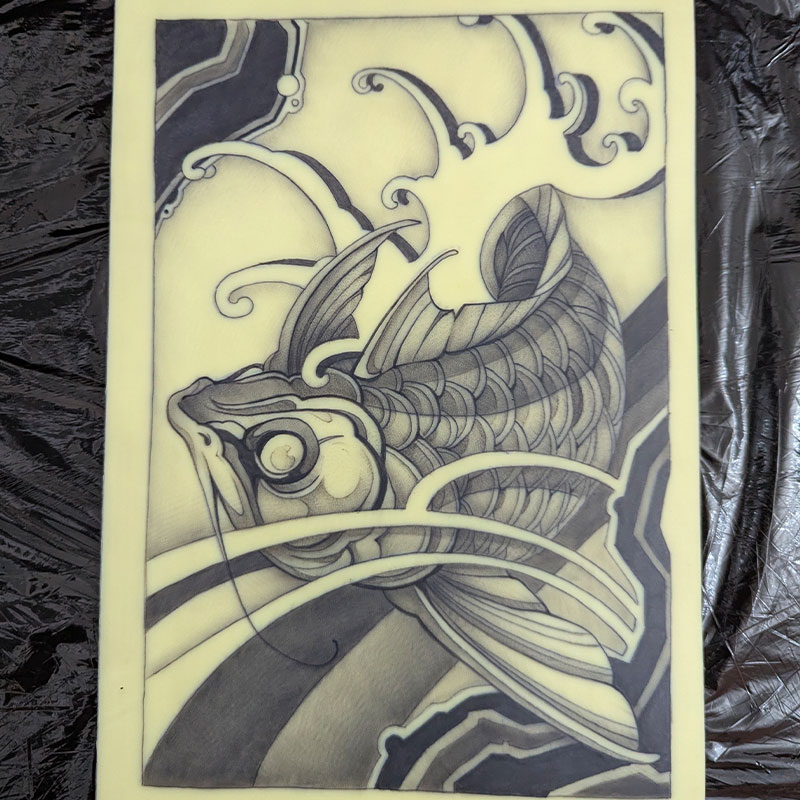
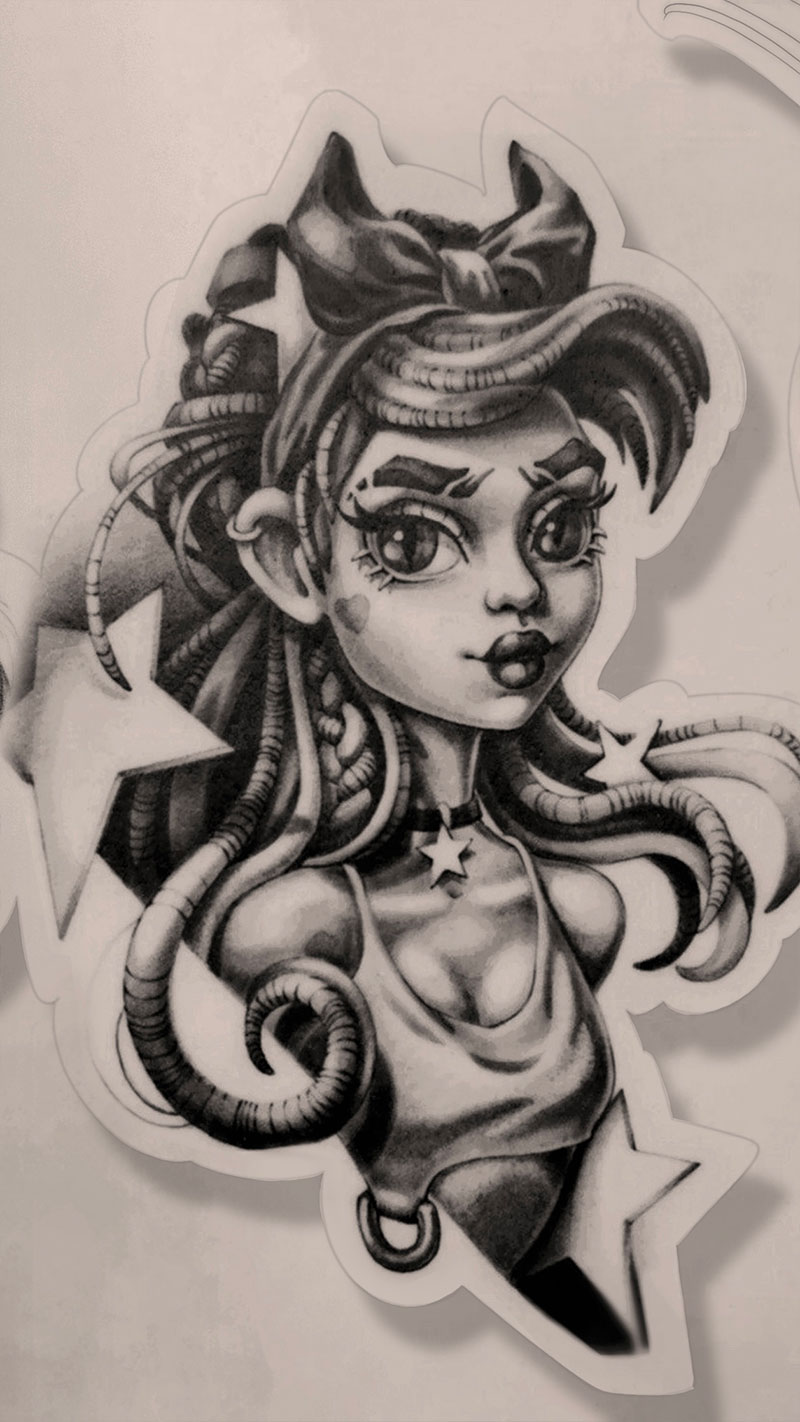
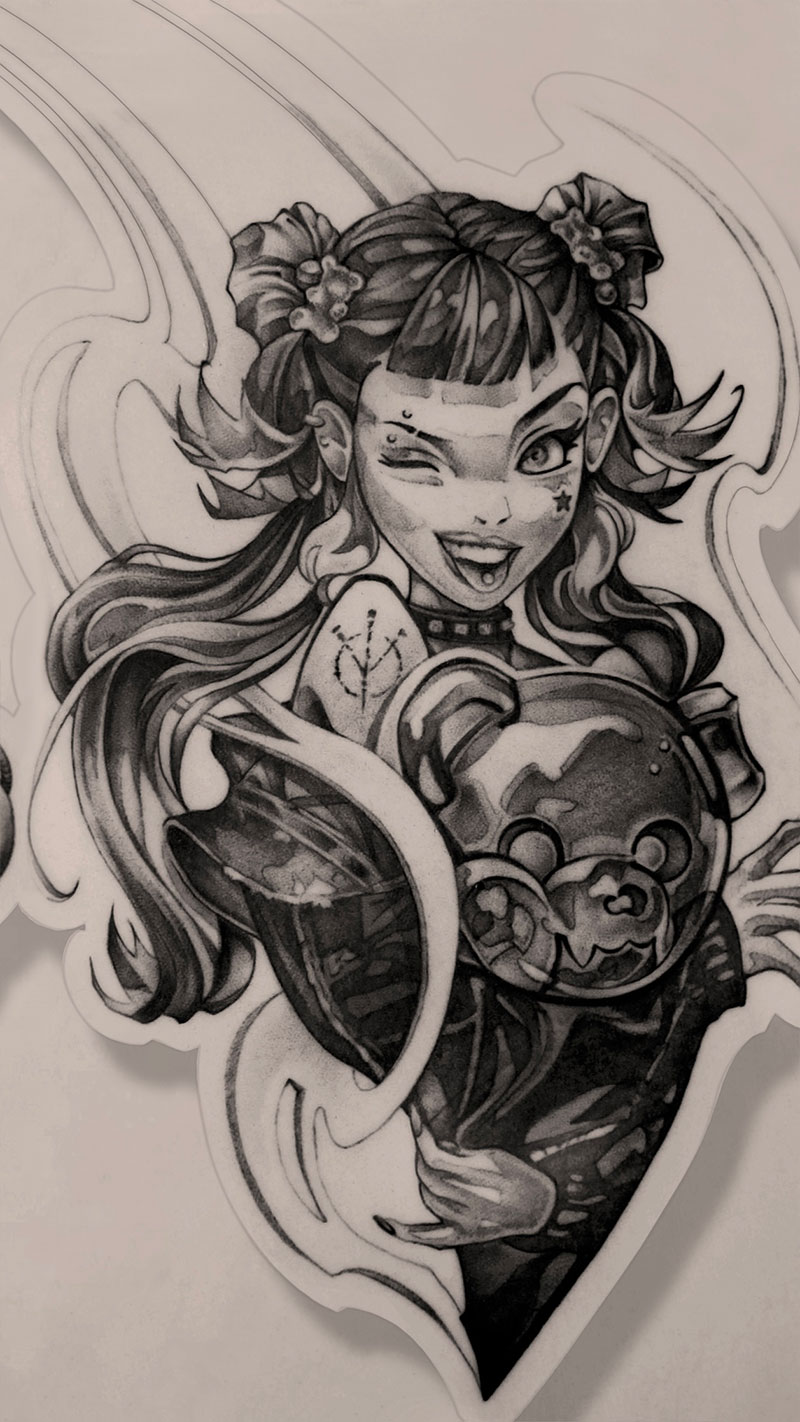
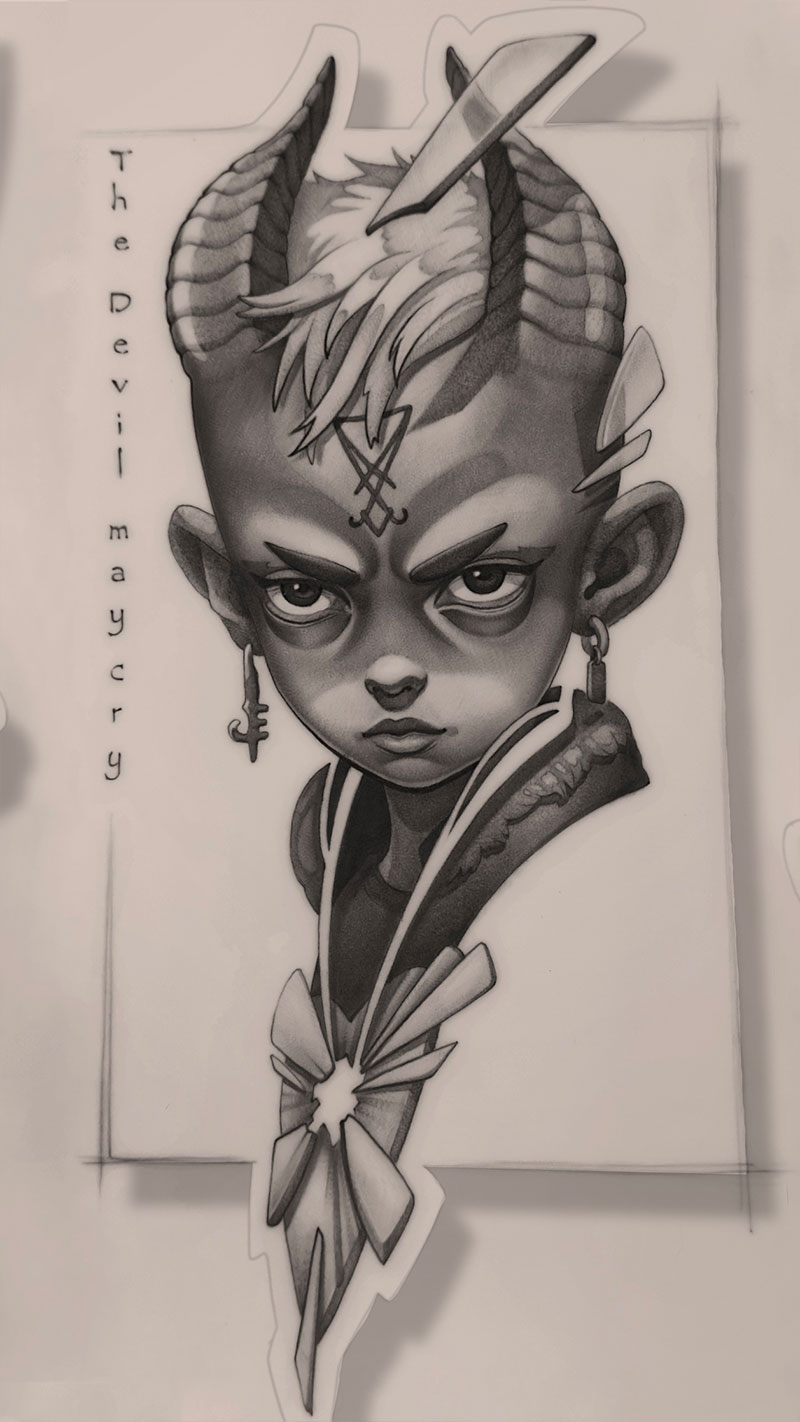
Proof
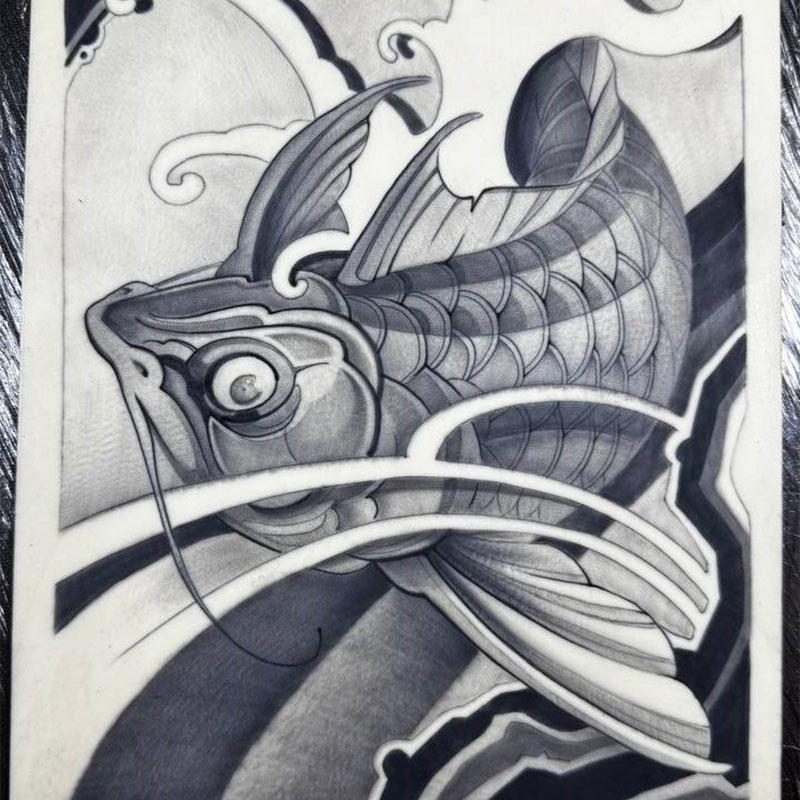
The Module 4 final — drawn by students who completed the course.
Reviews

Maria Vasilkova
tatt.berryI've watched the first three lessons so far, and I wanted to share my thoughts and takeaways 😅 The lessons are really good and straight to the point, with no fluff. Huge thanks to Dima for explaining everything so clearly 🙏🏻🤝 After working for several years, I realized I'd been holding my machine the wrong way, and that's probably why my wrist sometimes hurts after a session 😅🫠 It honestly feels like a whole different world — I'm still sitting here shocked, trying to process that first lecture 🤯 Thank you, Dima, for the knowledge, and thank you, Oleg, for the great production and filming! 🙏🏻☺️ And once again, thank you for such a damn good course 🙏🏻
Translated from Russian
Alex Zalman
zalman.tattooI want to give a huge shoutout to Dimon and Oleg. Thanks to the course, on top of gaining the actual skills, I landed a studio apprenticeship starting from absolute zero. Because of the piece I did during the course, I'm getting cleared to tattoo my own clients starting next month (and I literally just started). Meanwhile, there are dudes here who've been waiting 8 months just to get the green light to tattoo at the studio. Massive thanks, guys 🥹❤️🔥❤️🔥❤️🔥 Can't wait for the new courses to keep leveling up my skills.
Translated from Russian

Aleksandr
alex.inkframeStarted tattooing again this fall after a few years away from the machine. I originally started back in 2014 when we had zero fake skin, zero info, and definitely no Dimon with his insane charisma and ability to break things down so genuinely. Basically, if you've got experience and think going back to the fundamentals is fucking useless—drop that mindset right now and do what you gotta do 💯
Translated from Russian

I just want to say thank you to Dima and Oleg for these awesome videos! Everything is super clear, there's no filler, and they're really easy to watch on repeat to soak up the info better 🧠
Translated from Russian

Vlad
vladbginkThis course is honestly badass. I already understand how to do most of the stuff, now I just need to put in the reps 😎 I started showing my final pieces to friends, and I'm already lining up models. Back when I did a training at a regular studio… people kept making excuses and flaking on me. And I came here for the complete fundamentals 😄 My studio apprenticeship was 80% theory and 20% practice. They taught me the bare minimum and basically left me to figure the shit out on my own. The 'Base' course is a million times more effective than the so-called 'training' at tattoo shops. It's a night and day difference in results.
Translated from Russian

Sergey Danilov
drakoshatattooJesus fuck, this nightmare is finally over) Jokes aside though, the course is super useful. Two thumbs up, absolute vibe. I'm tattooing 3 times faster now, and the end result looks way more solid too) Just my raw thoughts after finishing.
Translated from Russian
Individual results may vary.
Students
Results from students in Dmitrii’s previous courses.

The Difference
Online Course
One-time payment. Access immediately after purchase.
Who It’s For
FAQ
The course starts with paper and pencil before you ever pick up a machine. The first assignments don’t require a needle — just a sheet of paper and a pencil. If you don’t have a machine at all, review the program before purchasing.
Many artists with years of experience rethink their grip after the first module. Try the self-check from lesson one. Pick up your machine, rest your hand on a table, press down on the machine with your other hand. If the needle touches the surface, you have no anchor.
No real-time feedback — that’s an honest limitation. What you do get: mandatory assignments with review, 4 live-client workshops, and a concrete progression. The skill-building system works online when there’s progression and mandatory assignments.
Yes. The course isn’t tied to any specific brand or model. The application mechanics are universal. Any modern rotary tattoo machine will work.
Feedback happens right inside the course — in the review thread of each assignment. That’s where I respond on substance: reviewing your work, explaining what to redo. Email (support@unstylers.com) is for organizational questions: payment, access, refunds, legal requests. For craft questions — submit your assignment and we’ll go through it in the thread.